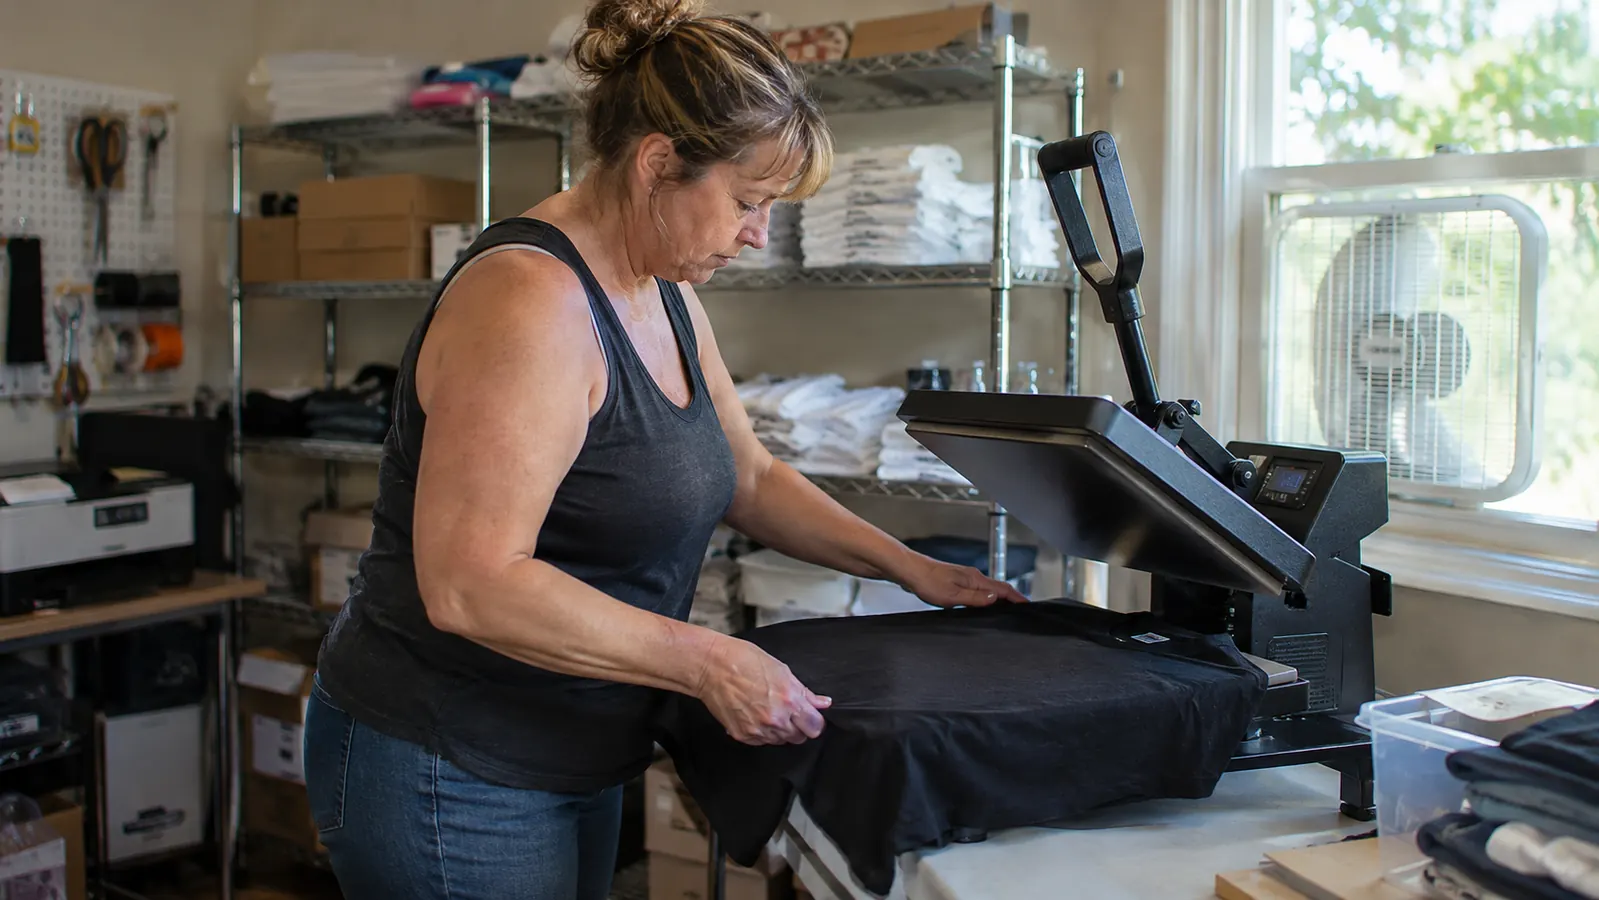
The first time I tried to layer heat transfer vinyl on a shirt, I pressed the top color first, then tried to line up the second piece over it, and ended up with a design that looked like a kindergartner had cut it out with safety scissors. My grandson Caleb was polite about it, which is more than that shirt deserved. Three years into running a small heat press side hustle out of my spare bedroom in Lincoln, Nebraska, I can tell you the layering is not hard once you understand the order. It is the order that trips everyone up.
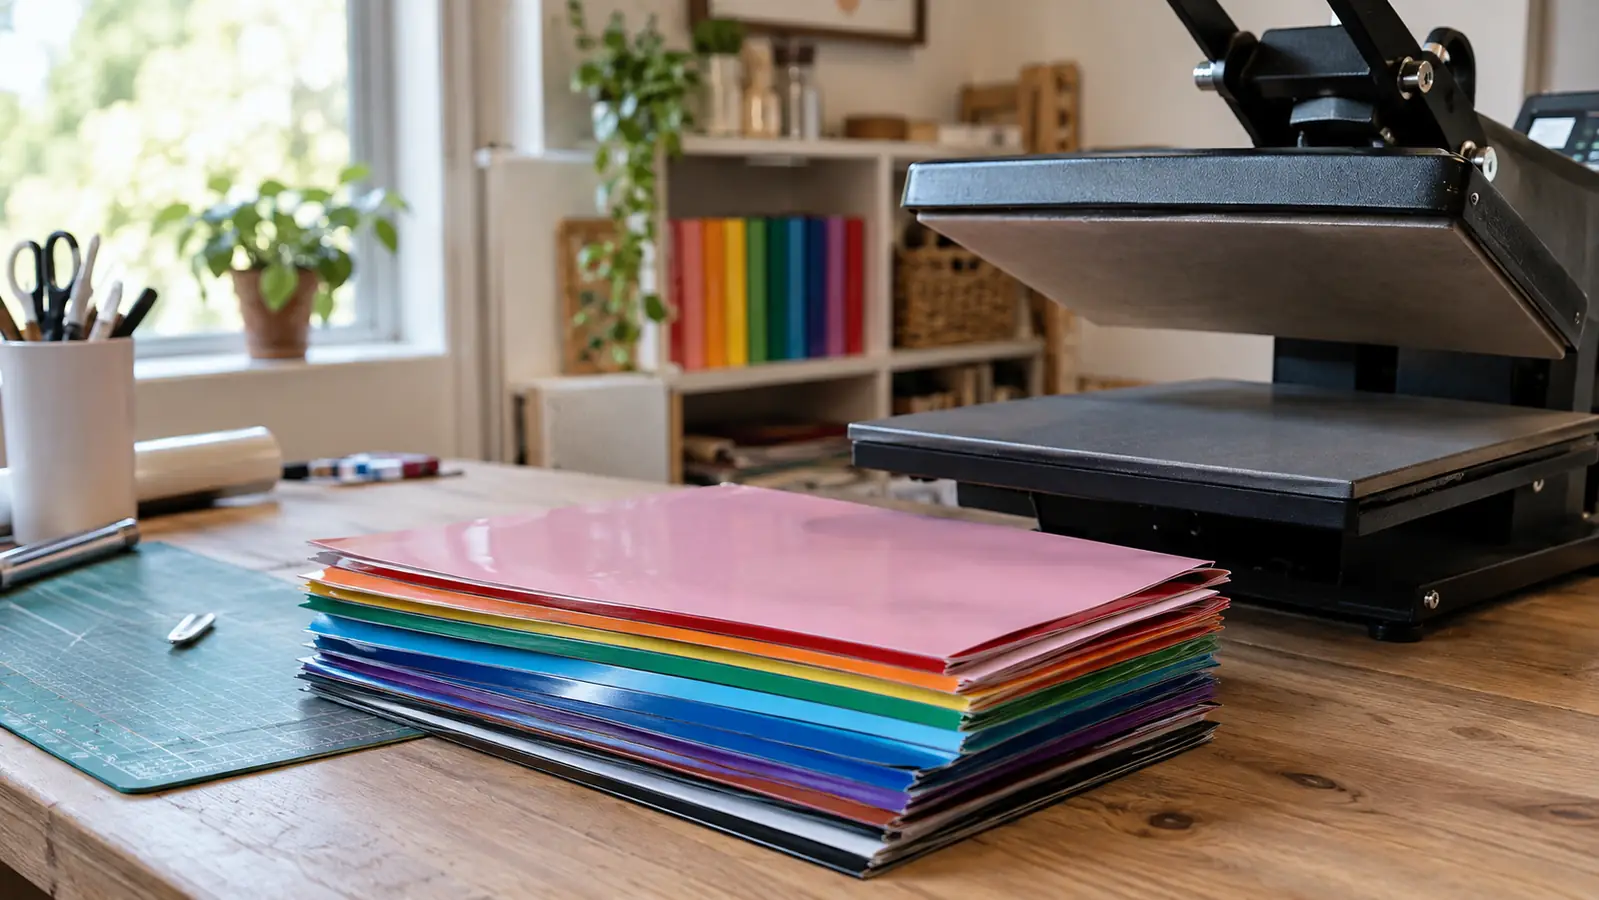
Layering just means stacking two or more colors of iron-on vinyl on the same shirt so they look like one clean design. The trick is that you do not press them all at once. You press the bottom layer first, then the next color on top of it, then the next. With the YUITCE HTV bundle I keep on my wire shelf, I have more than twenty colors to work with, and the 12 by 10 inch sheets are big enough for most of the designs I make for church groups, family reunions, and school spirit days.
Start with a bundle that has every color you will need
Layering goes faster when you are not waiting on a single color to arrive. The YUITCE heat transfer vinyl bundle gives you a full range of sheets in one box, so you can test your layers tonight instead of next week.
Amazon Check Today's Price on Amazon →Step 1: Plan the layers before you cut anything
Every layered design has a bottom layer and a top layer, and sometimes a middle one. The bottom layer is the largest piece, the part of the design that sits closest to the shirt. The top layer is the smallest piece, the part that sits on top. If you are making a baseball design for Caleb's team, the big circle is the bottom layer, the letters are the middle layer, and the little baseball stitch detail is the top layer.
Write the order down before you cut. I keep a notebook on my folding table and sketch the design with the layers labeled. This sounds like overkill until you are holding three pieces of vinyl that all look similar and trying to remember which one goes on first. The YUITCE sheets have a clear carrier sheet on top, and once you peel that off, the colors can look alike in low light. Labeling saves me from pressing the wrong piece.
A good rule of thumb: the bottom layer should be at least a quarter inch larger than the layer on top of it. That gives you a little margin for the press to seat the vinyl without the top layer sliding off the edge. When I first started, I cut my layers exactly the same size and spent a lot of time fighting pieces that shifted. A little extra border on the bottom layer fixes most of that.
I also learned to plan the order around the colors, not the other way around. On a Tuesday night last spring, I sat down to make a set of reunion shirts with a big sunflower on the back. I cut the yellow petals first because I was excited about them, then realized the brown center needed to sit on top of the petals, which meant the petals had to be pressed first. That order worked fine, but only because I caught it before I pressed anything. If I had pressed the center first, I would have had to cut the whole design over again. Now I always label the pieces with a sticky note: bottom, middle, top. It takes ten seconds and it has saved me more than one evening.
Step 2: Cut each layer from a separate sheet
Cut each color from its own sheet of YUITCE vinyl. Do not try to cut two layers from the same sheet and peel them apart. The carrier sheet is meant to hold one design, and trying to squeeze two pieces onto one sheet makes both of them curl at the edges. I learned this the hard way on a tote bag order and had to start over.
Set your cutting machine to the vinyl setting and let it do the work. If you are cutting by hand with scissors, cut just inside the design line so the carrier sheet stays intact. The YUITCE sheets cut cleanly with a standard blade, and I have not had a piece tear on me yet, which matters when you are cutting small letters.
After cutting, weed the design. Weeding means pulling away the vinyl you do not want, leaving only the design on the carrier sheet. Do this on a flat surface with good light. I use a small craft lamp on my folding table. Take your time with the small pieces, because a torn letter in the middle of a layer means cutting the whole thing again.
One thing I wish someone had told me early on: weed the bottom layer first, even if it is the most boring part of the design. The bottom layer is the one that has to be perfect, because every other layer sits on top of it. I spent a whole afternoon once weeding a tiny top layer with a magnifying glass, then rushed the bottom layer and tore a letter. I had to cut that sheet again anyway. Now I do the big pieces first, while my eyes are fresh, and save the fiddly top layer for when I am already in the rhythm.
Step 3: Press the bottom layer first
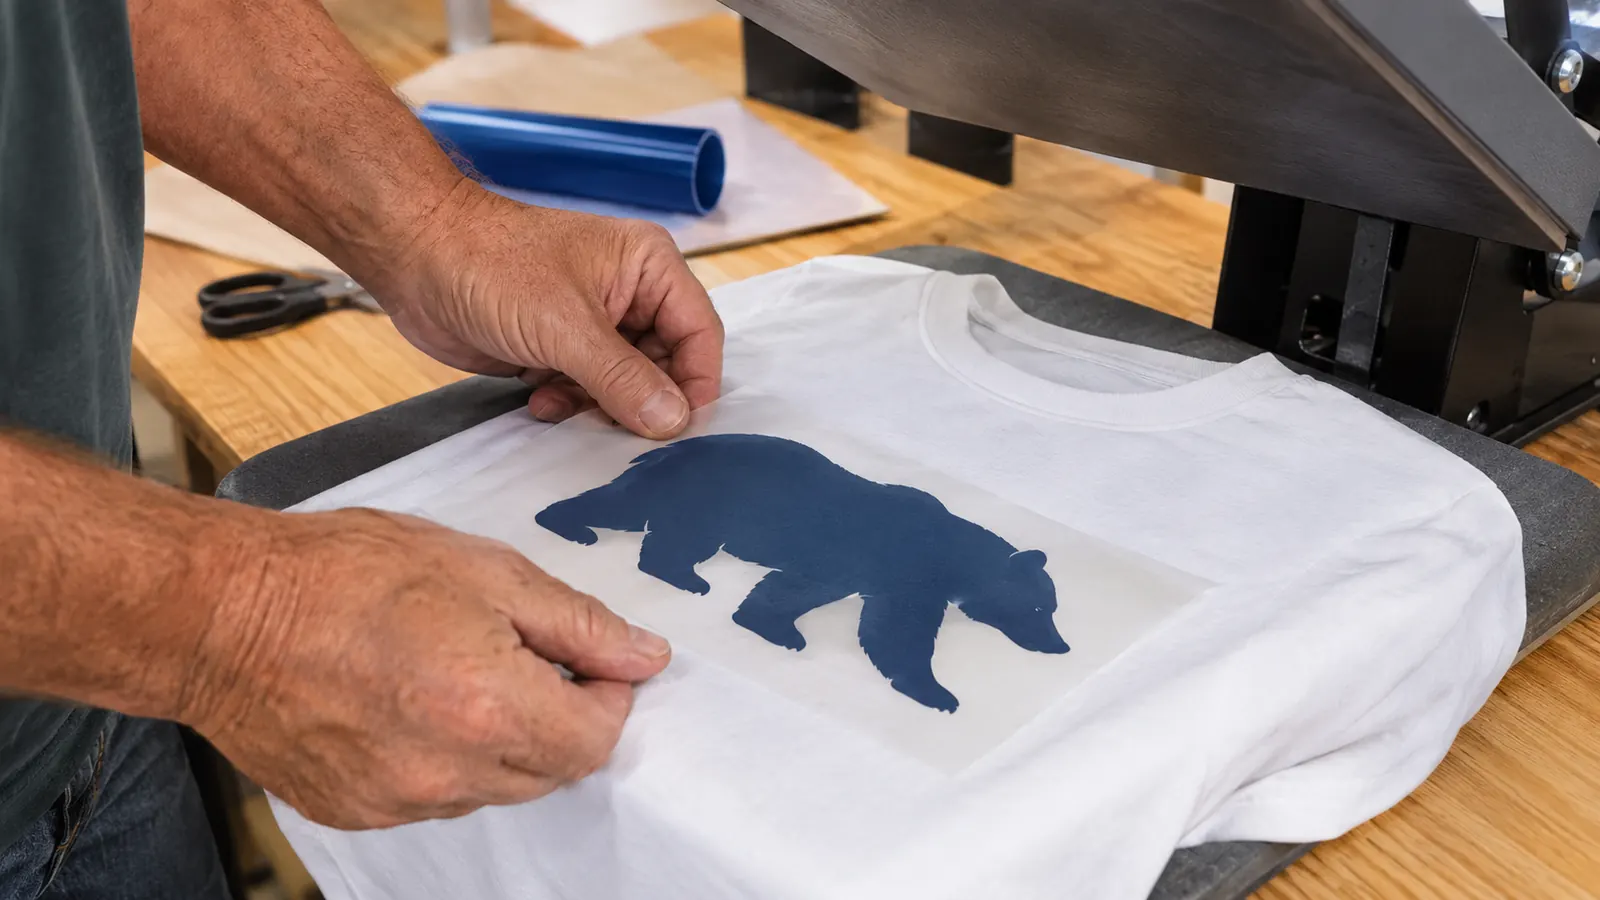
Preheat the shirt for a few seconds with the heat press closed and then lifted, so the fabric is warm and flat. This removes wrinkles and moisture that can keep vinyl from sticking. I press most cotton shirts at around 300 degrees for about 10 seconds for the preheat, then place the bottom layer of vinyl on the shirt with the carrier sheet facing up.
Press the bottom layer with firm pressure for the time recommended for your vinyl. For the YUITCE sheets, I use about 12 to 15 seconds at medium pressure. Let the shirt cool for a few seconds, then peel the carrier sheet. Peel warm for most vinyl, but check the instructions that came with your bundle, because some vinyl wants a cold peel. The YUITCE sheets peel warm and come off cleanly.
Here is the part that surprises people: do not press the next layer yet. Let the bottom layer cool completely. If you press the second layer while the first is still warm, the heat can soften the bottom layer and make it shift. I ruined a whole batch of reunion shirts this way before I learned to wait.
I will tell you exactly how I learned that lesson, because it is the kind of mistake you only make once. It was a Thursday night in July, and I was making twelve shirts for a family reunion the next weekend. I pressed the bottom layer, peeled it, and immediately laid the second layer on top while the shirt was still warm. The second layer looked fine when I pressed it, but after the shirts sat overnight, three of them had the top layer sitting a quarter inch off to the side. The bottom layer had shifted under the heat. I had to redo those three shirts the next morning, and I have never skipped the cooling step since. Now I press the bottom layer, peel it, and walk away to weed the next design while it cools. By the time I come back, it is ready.
Step 4: Line up the next layer and press again
Place the next layer of vinyl on top of the pressed bottom layer, using the carrier sheet to position it. The carrier sheet is clear enough that you can see the bottom layer through it, which makes lining up the letters much easier. I line up the edges of the design first, then check the spacing by eye before I close the press.
Press the second layer with the same temperature and a little less time, since the heat has to travel through the first layer to reach the adhesive. I use about 10 to 12 seconds for the second layer. Press firmly, then let it cool and peel the carrier sheet. The second layer should sit cleanly on top of the first with no gaps.
If you have a third layer, repeat the same process: place, press, cool, peel. Each layer adds a little thickness, so I press the top layer for a couple seconds less than the layer below it. This keeps the top layer from flattening the design and gives the finished shirt a nice dimensional look.
For lining up, I found one trick that helped more than anything else: use the shirt seams as your guide, not the edge of the press. The press plate can sit at a slightly different angle each time you close it, but the seams of the shirt do not move. I line up the center of the design with the center of the collar, then check that the bottom of the design is the same distance from the hem on both sides. On a busy design, I also lay the carrier sheet on top without pressing, step back, and look at it from across the room. If it looks straight from three feet away, it will look straight on the finished shirt.
Step 5: Do a final press and let the shirt rest
Once all the layers are pressed and peeled, do a final press over the whole design with a pressing cloth or a piece of parchment paper on top. This sets the layers together and smooths any edges that lifted during peeling. I use a light touch for about 5 seconds, just enough to seat everything without flattening the texture.
Let the shirt rest flat for at least a few minutes before you fold it or wear it. The adhesive needs a little time to cure fully. I hang my finished shirts on a rack by the window and let them sit while I start the next one. This also gives me a chance to check the design from across the room, which is the best way to spot a crooked letter.
Wash the shirt inside out in cold water for the first few washes. This protects the layered vinyl and keeps the edges from lifting. I tell everyone who buys a shirt from me at the fall craft fair to wash it inside out, and the ones who listen come back the next year with shirts that still look good.
What Else Helps
A few things make layering easier than the first time I tried it. A good heat press matters more than a fancy cutting machine, because even pressure is what keeps layers from shifting. I use a pressing cloth for every layer, which protects the vinyl and keeps the heat press plate clean. A small spray bottle of water helps smooth wrinkles out of the shirt before you press. And a lint roller is worth its weight in gold, because a single piece of lint under the bottom layer shows up as a bump in the finished design.
The YUITCE bundle has been my go-to for most of my orders because the sheets are consistent and the colors are true. I have used other brands over the years, and some of them peel unevenly or leave a sticky residue. The YUITCE sheets peel cleanly and hold up well in the wash, which is what I care about when I am making shirts for a church picnic or a family reunion.
One more thing I would tell a friend just starting out: keep a sample shirt nearby and test your settings on it before you press the real order. I keep a stack of old cotton shirts that are too stained to sell, and I use one of them every time I try a new vinyl or a new press time. It takes five minutes, and it has saved me from ruining more than one batch of good blanks. When I switched to the YUITCE sheets, I pressed a test square on an old shirt first, washed it, and checked the edges before I trusted it with a real order. That test took one evening, and it meant I never had to learn the hard way that these sheets wanted a warm peel.
The order is everything: bottom layer first, cool completely, then the next layer. Once I stopped rushing the cooling step, my layered shirts stopped shifting.
Grab a bundle and practice on a spare shirt tonight
You do not need a fancy setup to start layering. A heat press, a few YUITCE sheets, and one old shirt are enough to learn the order that makes layered designs come out clean.
Amazon Check Today's Price on Amazon →