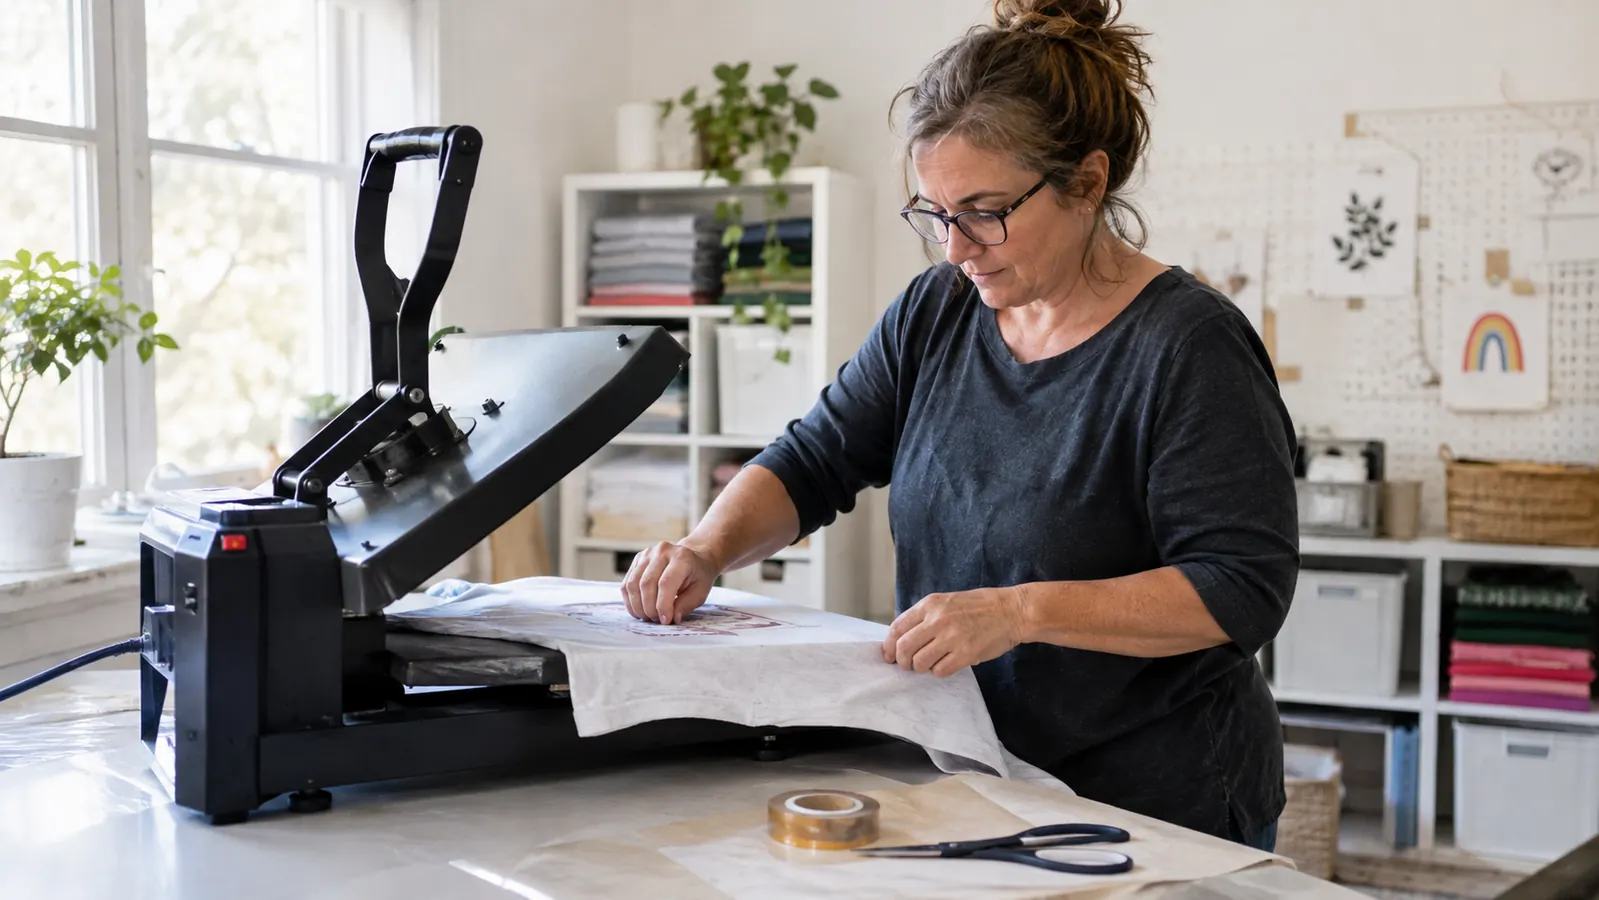
If you have ever peeled the carrier sheet off a fresh transfer and watched the design lift with it, you know the exact moment I mean. The shirt is perfect for about half a second, and then the vinyl curls up at the edge and you are staring at a ghosted mess. I am Darla, and I have been running a small heat press side hustle out of my spare bedroom in Lincoln for about three years. I started pressing shirts for my grandson Caleb's youth baseball team, and somewhere along the way I became the person the church group calls when they need forty tote bags. Ghosting on transfers used to be my most reliable failure. EQUTY BAYMERS heat tape is the thing that finally stopped it.
Heat tape sounds like the most boring purchase in the craft world, and it is. It is a roll of thin adhesive tape that holds your transfer in place while the press does its work. But boring is exactly what you want when you are trying to keep a design from sliding, lifting, or curling before the heat sets it. This is the plain-spoken version of how I use it, what I learned the hard way, and what I would tell a friend who is fighting the same ghosting problem.
Stop Losing Shirts to Ghosted Transfers
A single roll of EQUTY BAYMERS heat tape costs a few dollars and saves more blanks than I can count. It holds the transfer still so the heat can do its job.
Amazon Check Today's Price on Amazon →Step 1: Understand Why Transfers Ghost in the First Place
Ghosting happens when the transfer moves, even a little, while the platen is coming down or while the heat is doing its work. The carrier sheet shifts, the vinyl lifts at an edge, and you get a double image or a pale, half-printed copy of the design. It is not a heat problem, not a pressure problem, and not a bad blank. It is a movement problem.
The fix is simple: hold the transfer still. You can hold it with your hand, but you cannot hold it with your hand while the press is closed. You can hold it with a finger while you pull the carrier, but the moment you let go, the edge can curl back. Heat tape is the third hand you did not know you needed. It is a thin, heat-resistant adhesive tape that you lay across the edges of the transfer, outside the design area, so the transfer cannot move.
I use EQUTY BAYMERS heat tape because it is narrow enough to stay out of the design, it releases cleanly, and it does not leave a residue on the shirt or the transfer. The roll is 10mm wide and 33 meters long, which sounds like a lot until you realize you use a small strip on every corner of every transfer. A roll lasts me the better part of a year, and I have never had a roll dry out or lose its stick before I finished it.
Step 2: Tape the Transfer to the Shirt Before You Press
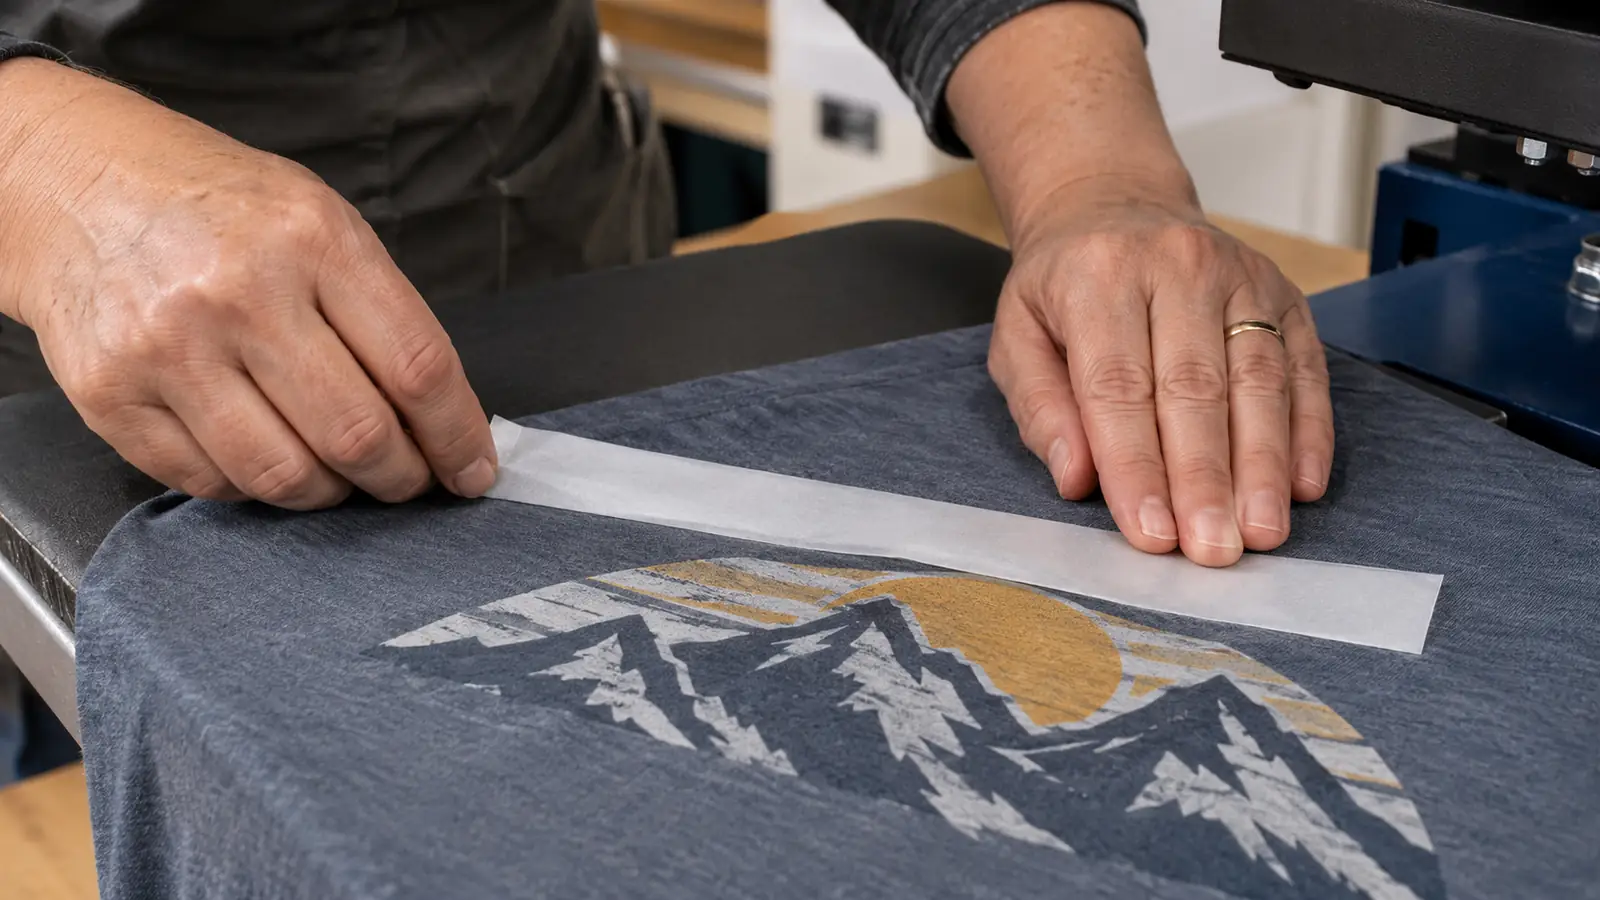
Lay the shirt flat on the platen, smooth it out, and place the transfer exactly where you want it. Then take four small strips of heat tape, about an inch long each, and place them on the corners of the transfer, just outside the design. Press the tape down firmly with your finger so it grips both the transfer and the shirt.
For a standard adult tee, I place the top of the design about three inches below the collar seam, which is roughly four fingers' width. Then I tear two strips of heat tape about two inches long and press one down on each side of the transfer, half on the carrier sheet and half on the shirt. Run your fingernail over each strip so it grips firmly. A strip that is only resting on the fabric will lift the moment the heat hits it.
The trick is to keep the tape out of the design area entirely. If a strip of tape crosses the vinyl, you will see a faint line where the tape blocked the heat. That is a different kind of ghost, and it is just as annoying. I keep the tape at the very edge of the carrier sheet, never over the design, and I have not had a tape line on a shirt since I figured that out.
For larger transfers, I add a strip along the top edge as well. The top edge is the one that wants to peel back when you pull the carrier sheet, so a little extra insurance there is worth it. The tape is cheap, the shirt is not, and the time you spend taping is nothing compared to the time you spend redoing a shirt.
Step 3: Press, Then Peel the Carrier While the Tape Holds
Once the transfer is taped, close the press and let it do its work. The heat tape is rated for the temperatures you use for vinyl and sublimation, so it will not melt, smoke, or stick to the platen. I press shirts at the temperature my vinyl calls for, usually around 300 to 315 degrees, and the tape comes out of the press looking exactly like it went in.
The moment that matters is the peel. When the press opens, the transfer is hot and the carrier sheet wants to lift. The tape holds the edges down while you peel, which means the vinyl stays on the shirt and the carrier comes off clean. This is the step that used to ruin my shirts before I started taping. Now it is the step I do not even think about.
This is where most ghosting actually happens, and it is easy to miss. When you lift the press lid, a little puff of air can shift a loose carrier sheet, and if you are peeling a hot-peel vinyl, the second you start lifting is the second the design is most likely to slide. With both sides taped, the carrier stays anchored, so you can peel slowly and steadily from one corner instead of rushing it.
Peel the carrier according to your vinyl's instructions, hot or cold, and then pull the tape strips off the shirt. They come off cleanly, without leaving a sticky film or pulling the vinyl with them. I have used the same roll of EQUTY BAYMERS tape on shirts, tote bags, and even a few tumblers, and I have never had a residue problem.
Step 4: Use the Same Tape for Sublimation and Multi-Piece Designs
Ghosting is not just a vinyl problem. Sublimation blanks ghost too, especially mugs and tumblers, because the paper shifts while the wrap is being tightened or while the heat is rising. A strip of heat tape on the seam of the sublimation paper holds it in place while you wrap and press. I use it on every tumbler I make, and my ghosted tumbler count has dropped to zero.
For a tumbler, wrap the sublimation print around the cup so the edges meet cleanly at the seam, then run a strip of heat tape down that seam from top to bottom. Add a short strip across the top edge and the bottom edge on both sides. The paper should feel snug, with no bubble you can push down with your thumb. If you can slide it at all, it will slide in the press, and that slide is what shows up as a blurry double image.
Multi-piece designs are another place the tape earns its keep. When you are layering several colors of vinyl, each layer has to land in exactly the same spot. I tape the first layer's carrier in place, press, peel, and then use the same corner marks to line up the next layer. The tape keeps the whole stack from shifting while you are lining things up.
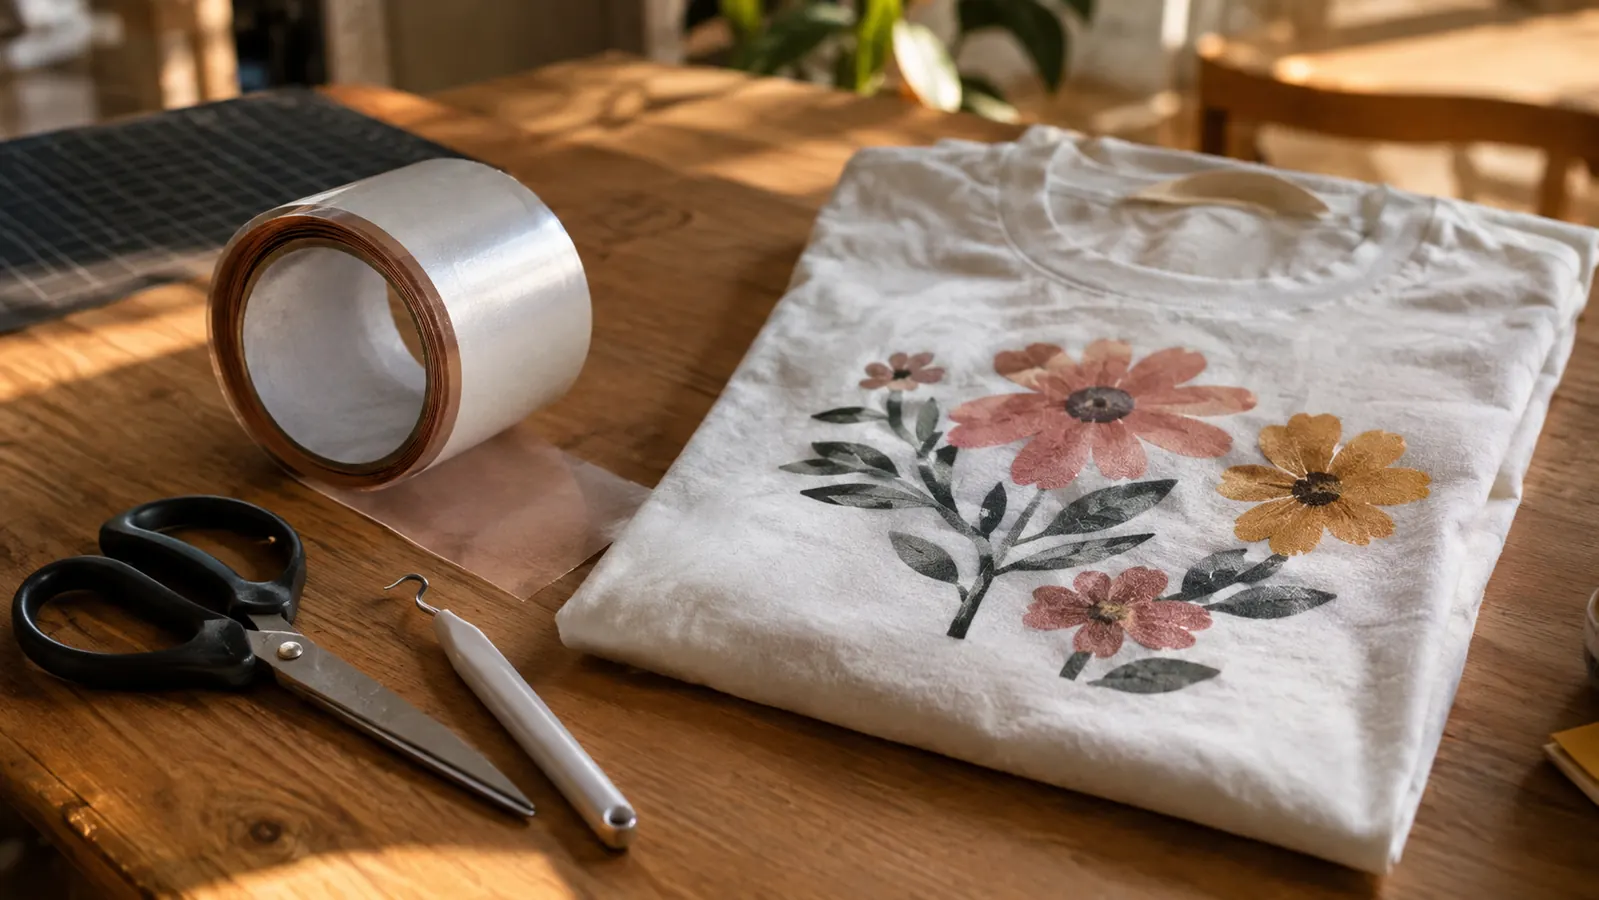
The tape also works for holding down small pieces that like to wander, like a tiny monogram or a single letter. A one-inch strip across the top of the carrier is enough to keep a small design from sliding while the platen comes down. I keep a roll on the wire shelf next to my press, right next to the scissors, so I never have to go hunting for it.
Step 5: Store the Roll Right and Make It Last
Heat tape is simple to store. Keep it in a cool, dry place, away from direct sunlight, and it will hold its stick for a long time. I keep mine in a drawer in my craft room, not on the shelf above the press where the heat from the machine can reach it. A roll of EQUTY BAYMERS tape lasts me the better part of a year of steady weekend pressing.
One thing I learned the hard way: do not leave the tape on a shirt and walk away. It is meant to be removed after the press, and leaving it on can leave a mark or make the shirt sticky. Pull it off right after the peel, while the shirt is still warm, and it comes away clean every time.
Another lesson: tape onto the carrier sheet or paper, never across the vinyl or the printed design. On my very first sublimation shirt I ran a strip straight across a corner of the print because the paper kept curling. The tape pressed a clean, pale rectangle into the image where the ink could not reach the fabric. Now I keep every strip in the margin, and if a print is curling, I add a strip at the corner of the paper instead.
The roll is 33 meters long, which is about 108 feet. That sounds like a lot, but a four-corner taping job uses maybe four inches per shirt. A roll will do a whole season of craft fair prep and still have plenty left for the next one. I have bought the two-pack twice now, and I keep the second roll in the drawer as backup.
What Else Helps
Heat tape fixes the movement problem, but it is not the only thing that keeps transfers clean. A good Teflon sheet protects the platen and the shirt, and a weeding tool helps you place small pieces without touching the adhesive. I also learned to let the shirt cool for a few seconds before peeling, because a too-hot peel is how I used to pull vinyl off with the carrier. EQUTY BAYMERS tape handles the part nothing else can: it holds the transfer still while the press is closed. The rest is just good habits.
The tape holds the edges down while you peel, which means the vinyl stays on the shirt and the carrier comes off clean. That one change took me from ghosted shirts to clean presses.
Keep a Roll Next to Your Press
If you are tired of peeling back a carrier sheet to find a ghosted design, a roll of EQUTY BAYMERS heat tape is the cheapest fix in the craft room. It holds the transfer still so the heat can do its job.
Amazon Check Today's Price on Amazon →