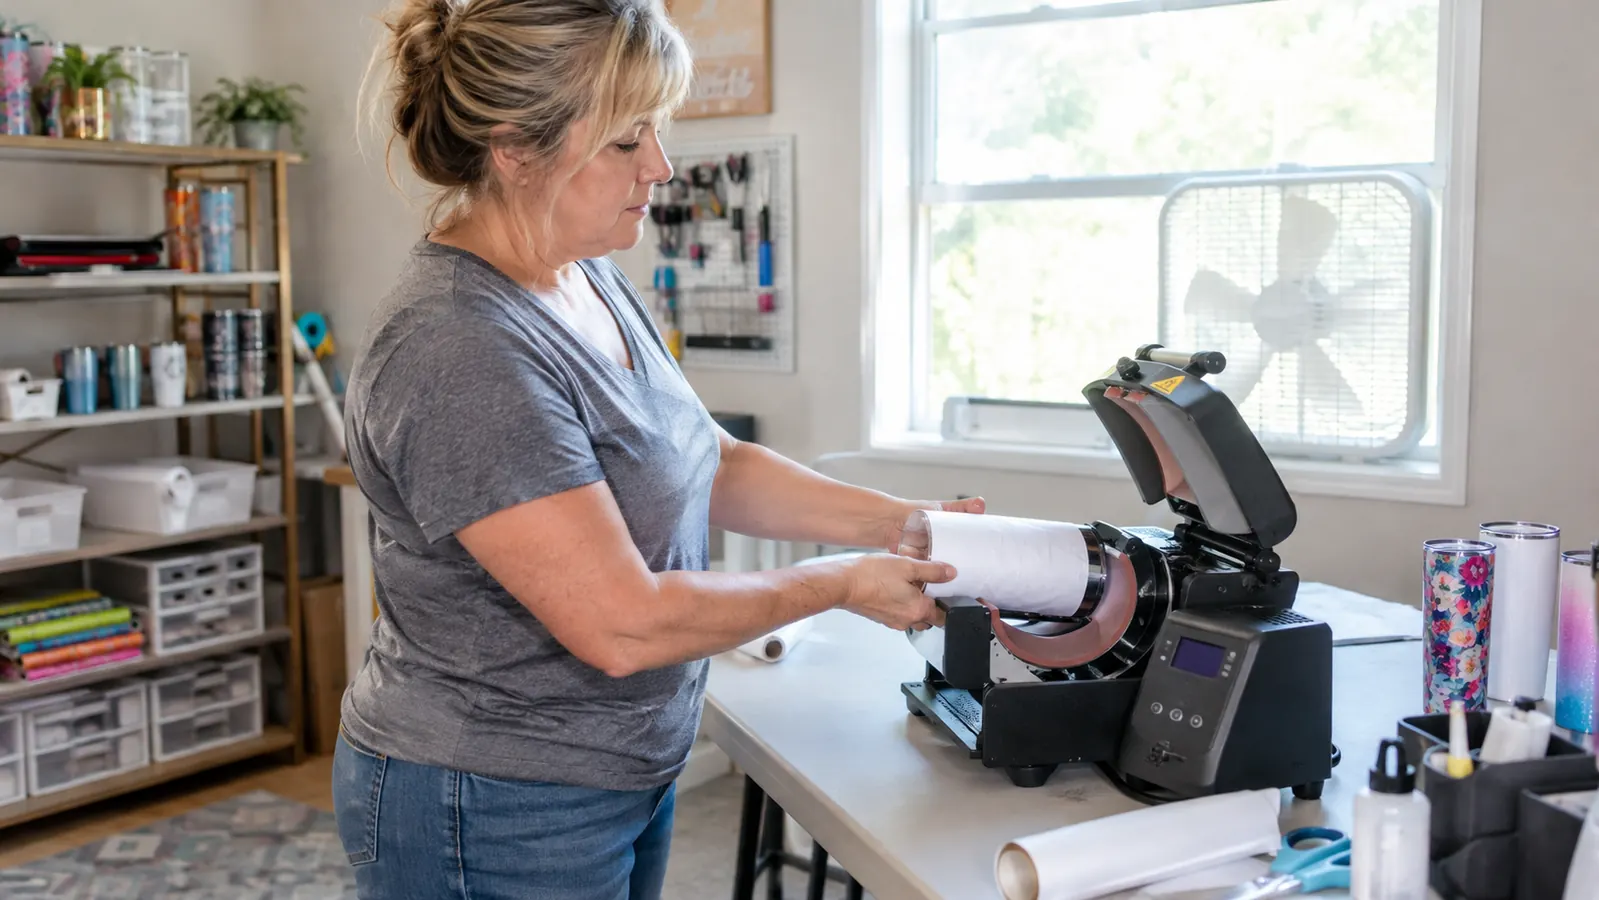
The first tumbler I ever tried to sublimate came out looking like a ghost. The design was there, sort of, but it was pale and patchy, and the white parts of the paper had left a gray shadow all the way around the cup. I had followed a video, I had used the right paper, and I still wasted a blank that cost me a few dollars. That is exactly why I want to walk you through how to sublimate a tumbler with the HTVRONT Press, the way I do it now, after about two years of making tumblers on it in my spare bedroom in Lincoln.
The HTVRONT Auto Tumbler Heat Press is the machine I reach for when I have a batch of tumblers for a church group or a family reunion. It holds the tumbler for you, it spins it while it heats, and it takes most of the guesswork out of the job. If you have been fighting with parchment paper and an oven, or holding a heat gun over a cup until your arm aches, this is the tool that finally made the process feel boring, in the best way.
Skip the Oven-Wrap Fuss and Press Tumblers the Easy Way
The HTVRONT Auto Tumbler Heat Press does the rotating and the holding for you, so you can focus on getting your design wrapped straight. Check today's price on Amazon and see why home crafters keep coming back to it.
Amazon Check Today's Price on Amazon →Step 1: Gather Your Supplies and Set Up Your Workspace
Before you turn anything on, lay out everything you need. You will want sublimation paper, not regular printer paper, and a printer that uses sublimation ink. You will also want a tumbler made for sublimation, which usually means a white poly-coated blank. Plain stainless steel tumblers will not take the ink, and I learned that the hard way when I pressed a design onto a bare metal cup and watched it wipe right off.
Grab a roll of butcher paper or plain copy paper to wrap the tumbler in, and a heat-resistant glove so you do not burn yourself when you check the wrap. I keep a clean, flat surface near the press, because the tumbler needs to sit still while you tape the paper. My craft room has a long folding table, and I clear a spot on it every time I do a batch. I also keep a lint roller and a roll of heat-resistant tape in the same drawer, because I always need both and I got tired of hunting for them mid-project.
Set the HTVRONT Press on a sturdy table with a little room around it. The machine has a clamp that holds the tumbler, and it rotates the cup as it heats, so you do not need to spin it by hand. Give yourself enough space to move around the machine, and keep your box fan nearby. A little airflow helps when you are pressing several tumblers in a row. The first time I used it, I set it up on the kitchen counter and immediately ran out of room for the paper and the blanks, so now the folding table in my craft room is its permanent home.
Step 2: Print Your Design on Sublimation Paper
Print your design in mirror image. This is the step people skip, and it is the reason so many first tumblers come out backwards. If your design has words, mirror it before you print. If it is a pattern or a photo, mirroring it does not hurt, and it keeps everything facing the right way when you wrap the paper around the cup. I learned this the hard way on a set of name tumblers for a school fundraiser, and I will never forget the look on my face when the first one came out with the name running the wrong direction.
Use the right settings on your printer. I print on the highest quality setting my printer offers, and I let the ink dry for a few minutes before I handle the paper. Sublimation ink is not like regular ink, and smudging it before it transfers will leave a blurry design on your tumbler. If you are using a new pack of paper, do a small test print first so you know which side is the print side. I keep a little scrap of paper in the printer tray just for that test, and it has saved me more than once.
Cut your paper to fit the tumbler. You want the design to wrap around the cup with a little overlap at the seam, but you do not want a huge flap of paper bunched up. I cut mine so the paper covers the full height of the design area and wraps about a quarter of the way around the cup. That keeps the transfer even and makes the seam less noticeable. For a standard 20-ounce skinny tumbler, my paper is usually about 9 inches tall and 8 inches wide, and I trim it down from there once I see how it sits on the cup.
Step 3: Wrap the Tumbler Tightly and Tape It Down
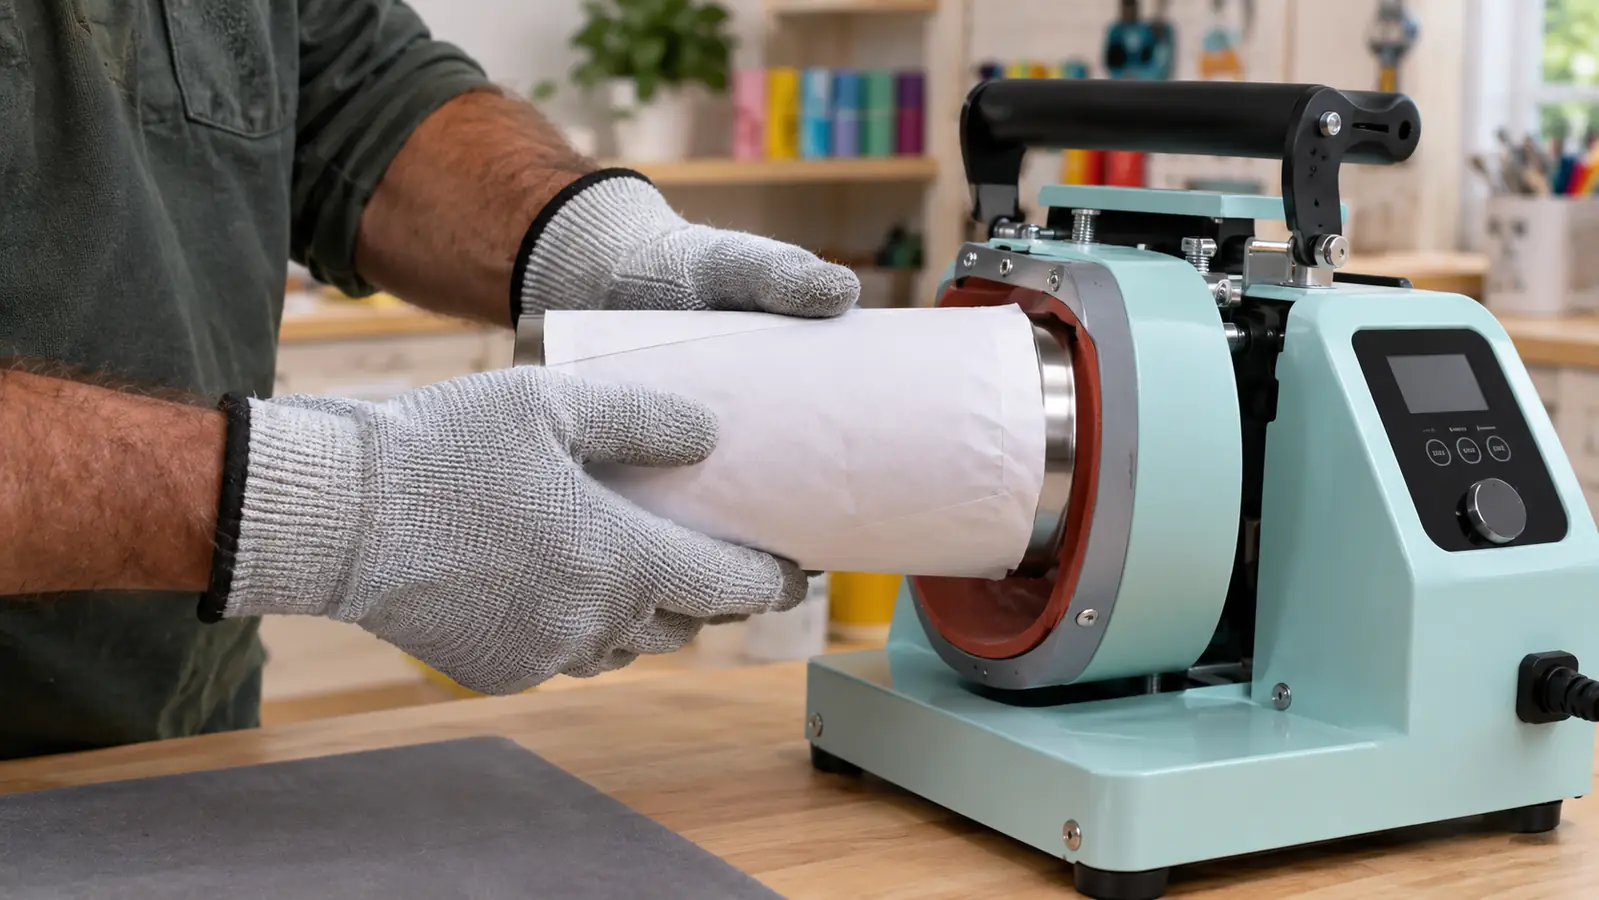
This is the step that separates a clean transfer from a ghosted one. Wrap the printed paper around the tumbler with the ink side facing the cup. Pull it snug, but do not stretch it so hard that the paper tears. Use heat-resistant tape to hold the paper in place at the top, the bottom, and along the seam. I use a few small pieces of tape, and I press them down firmly so nothing shifts when the machine starts rotating. On my first few tries I used regular Scotch tape, and the heat turned it into a sticky mess that left marks on the butcher paper.
Then wrap the whole thing in butcher paper. This is the layer that protects your tumbler from direct heat and keeps the sublimation paper from scorching. I wrap it like a present, smooth and tight, and I tape the butcher paper closed. If you skip this layer, you will get a gray shadow on your tumbler, and you will be starting over. I know because I skipped it once when I was in a hurry before a family reunion, and every single tumbler in that batch had a shadow I could not fix.
Check the seam before you put the tumbler in the press. Run your fingers along the wrapped cup and feel for any bumps or wrinkles. A wrinkle in the butcher paper will show up as a white line in your design. It takes ten seconds to smooth it out, and it saves you from pressing a tumbler you already know is going to be a reject. I also check the top and bottom edges of the paper, because if the paper hangs over the rim, it can scorch and leave a brown ring on the cup.
Step 4: Set the Temperature and Time on the HTVRONT Press
The HTVRONT Press has a digital display where you set the temperature and the time. For most tumblers, I run it at 400 degrees Fahrenheit for about 180 seconds. That is the setting that finally worked for me after a lot of trial and error. Your blank and your paper may need a small adjustment, so keep a notebook nearby and write down what works for each brand of tumbler you use. I have a page in my notebook for every blank I have tried, with the temperature, the time, and a note about how the colors came out.
The machine rotates the tumbler while it heats, which is the feature that sold me on it. With an oven or a heat gun, you have to turn the cup yourself, and the heat ends up uneven. The HTVRONT Press turns the tumbler at a steady speed, so the design gets the same amount of heat all the way around. That even heat is what makes the colors come out bright instead of patchy. I remember one afternoon when I pressed six tumblers in a row for a church group, and every single one came out with the same clean, saturated color. That consistency is the whole reason I stopped using the oven method.
Let the machine do its job. I set the timer, close the press, and walk across the room to check on something else. When the timer beeps, I open the press, and the tumbler is ready to come out. The auto-rotate feature means I am not standing at the oven turning a cup by hand, and my arm is not sore at the end of a batch. On a busy week before the fall craft fair, I pressed twelve tumblers in one evening, and I was honestly surprised at how easy it was on my shoulders.
Step 5: Cool, Unwrap, and Check Your Tumbler
When the timer beeps, open the press and let the tumbler cool for a minute or two. I set it on a heat-safe surface and wait until I can touch the butcher paper without a glove. If you unwrap it too soon, the design can smear, and the paper can pull ink off the cup. Patience here is worth it. I usually set the hot tumbler on a ceramic trivet I keep on the craft table, and by the time I have the next one wrapped, the first one is ready to unwrap.
Peel the butcher paper off first, then the sublimation paper. Do it slowly and peel it back on itself, like you are removing a sticker. If the design looks pale, the temperature was too low or the time was too short. If it looks dark and muddy, the temperature was too high or the time was too long. Write it down and adjust for the next one. My first successful batch took three tries to get the settings right, and that notebook is the reason I have not had to guess since.
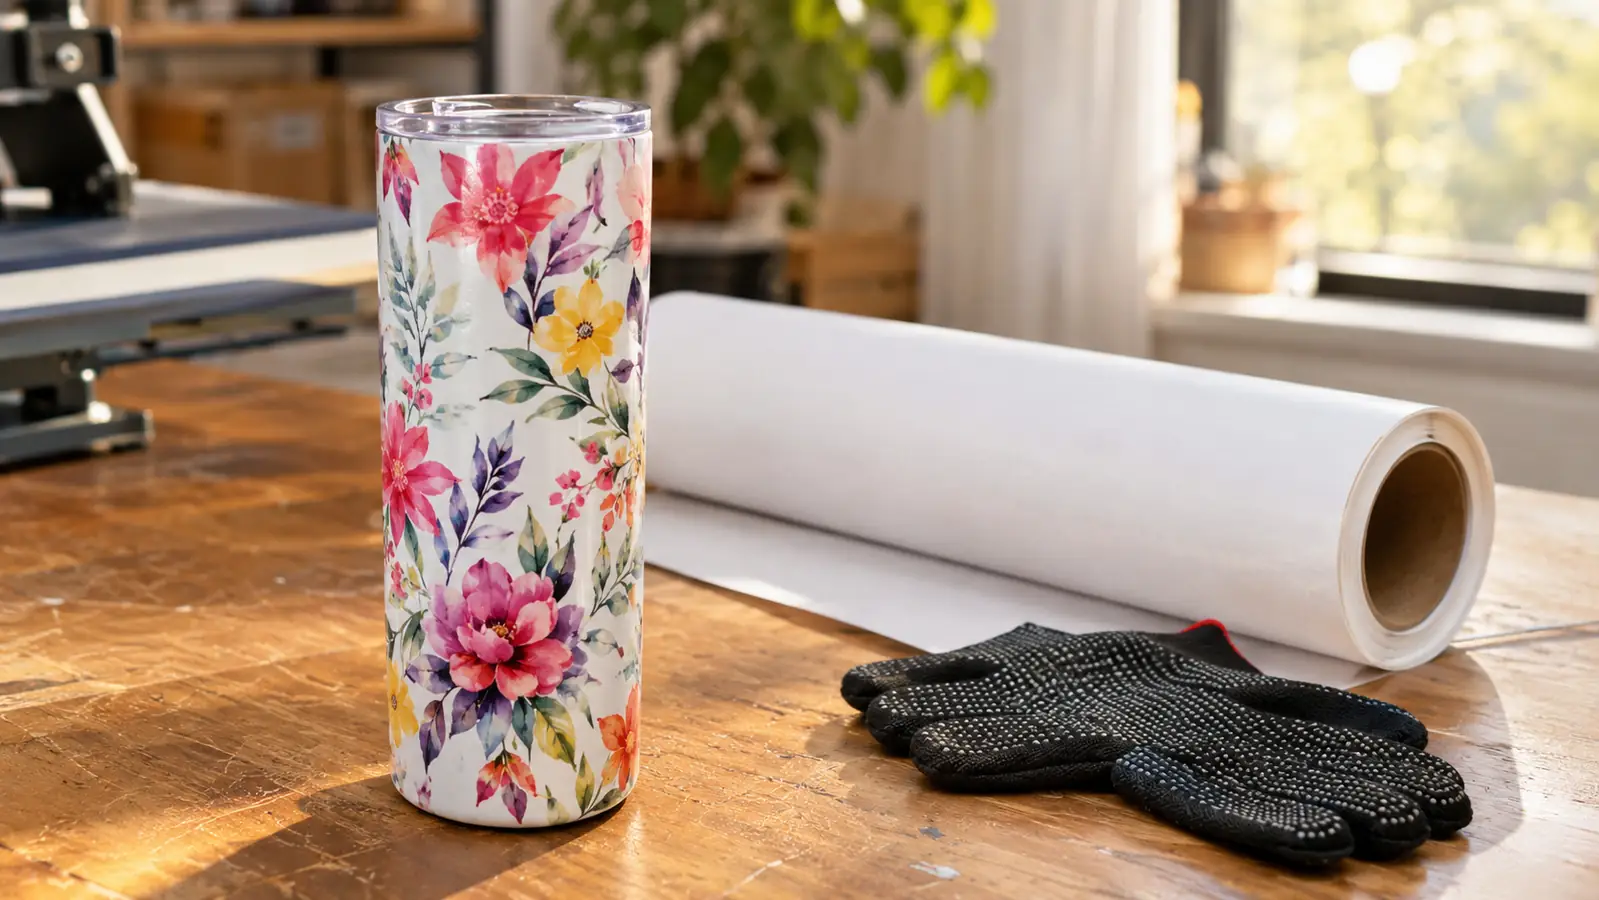
A good transfer should look bright, crisp, and fully saturated, with no gray shadow and no white lines. The first time I got a perfect tumbler, I actually laughed out loud. It was a little floral design for a church fundraiser, and the colors looked like they had been printed right on the cup. That is the moment you are working toward, and the HTVRONT Press makes it repeatable instead of lucky. Now I can hand a finished tumbler to Ron and know it will look the same as the one I made last week.
What Else Helps
A few things make the whole process easier. Use a lint roller on your tumbler before you wrap it, because dust and fingerprints show up in the transfer. Keep your sublimation paper flat and store it away from heat and sunlight. And if you are doing a batch of matching tumblers, print all your designs at once and wrap them all before you start pressing, so the machine can run continuously. I also keep a second roll of butcher paper on the shelf, because running out mid-batch is exactly how I ended up pressing a tumbler with a paper towel wrapped around it once. It did not go well.
I also recommend testing on a cheap blank before you press a full order. It costs a few dollars and it tells you exactly how your paper and your printer behave with the HTVRONT Press. When I started, I tested on a plain white tumbler from a craft store, and the test saved me from ruining a whole batch of reunion tumblers. That test is the best advice I can give a friend starting out. Write down the settings that worked, tape the note to the wall above your press, and you will never have to figure it out twice.
The first time I got a perfect tumbler, I actually laughed out loud. The colors looked like they had been printed right on the cup.
Ready to Press Your First Tumbler Without the Guesswork?
The HTVRONT Auto Tumbler Heat Press holds, rotates, and heats your tumbler for you, so you can focus on getting your wrap straight. Check today's price on Amazon and start your next batch with a machine that does the hard part.
Amazon Check Today's Price on Amazon →