The first shirt I ever pressed is still in a drawer in my craft room, and not because it came out great. It came out with a ghosted outline where the design used to be, a shiny patch where I pressed too long, and a transfer that peeled at the edges before my grandson Caleb ever wore it to practice. I was so proud of it for about ten minutes. Then I washed it once and it looked like a shirt that had been through a war. I keep it in that drawer as a reminder that pressing a shirt is not hard, but it is not magic either. It is a routine, and the routine matters more than the machine.
That was three years ago, a few months after I left my job running the school cafeteria in Lincoln, Nebraska. I had just bought my first Fancierstudio 15x15 heat press, mostly because Caleb's youth baseball team needed shirts and I could not stand the prices at the print shop. I figured I could learn it in an afternoon. The truth is, I ruined three shirts before I got one right, and every one of those ruined shirts taught me something I still use today. If you just got a heat press, or you are thinking about getting one, this is the walkthrough I wish somebody had handed me before I ruined my first blank.
Start with a press that won't fight you
The Fancierstudio 15x15 digital heat press is the one I learned on, and it is still the one I use for every shirt I make. It heats evenly, the digital readout is honest, and the handle locks down so you can use both hands to keep your transfer from shifting.
Amazon Check Today's Price on Amazon →Step 1: Set Up Your Press on a Sturdy Table
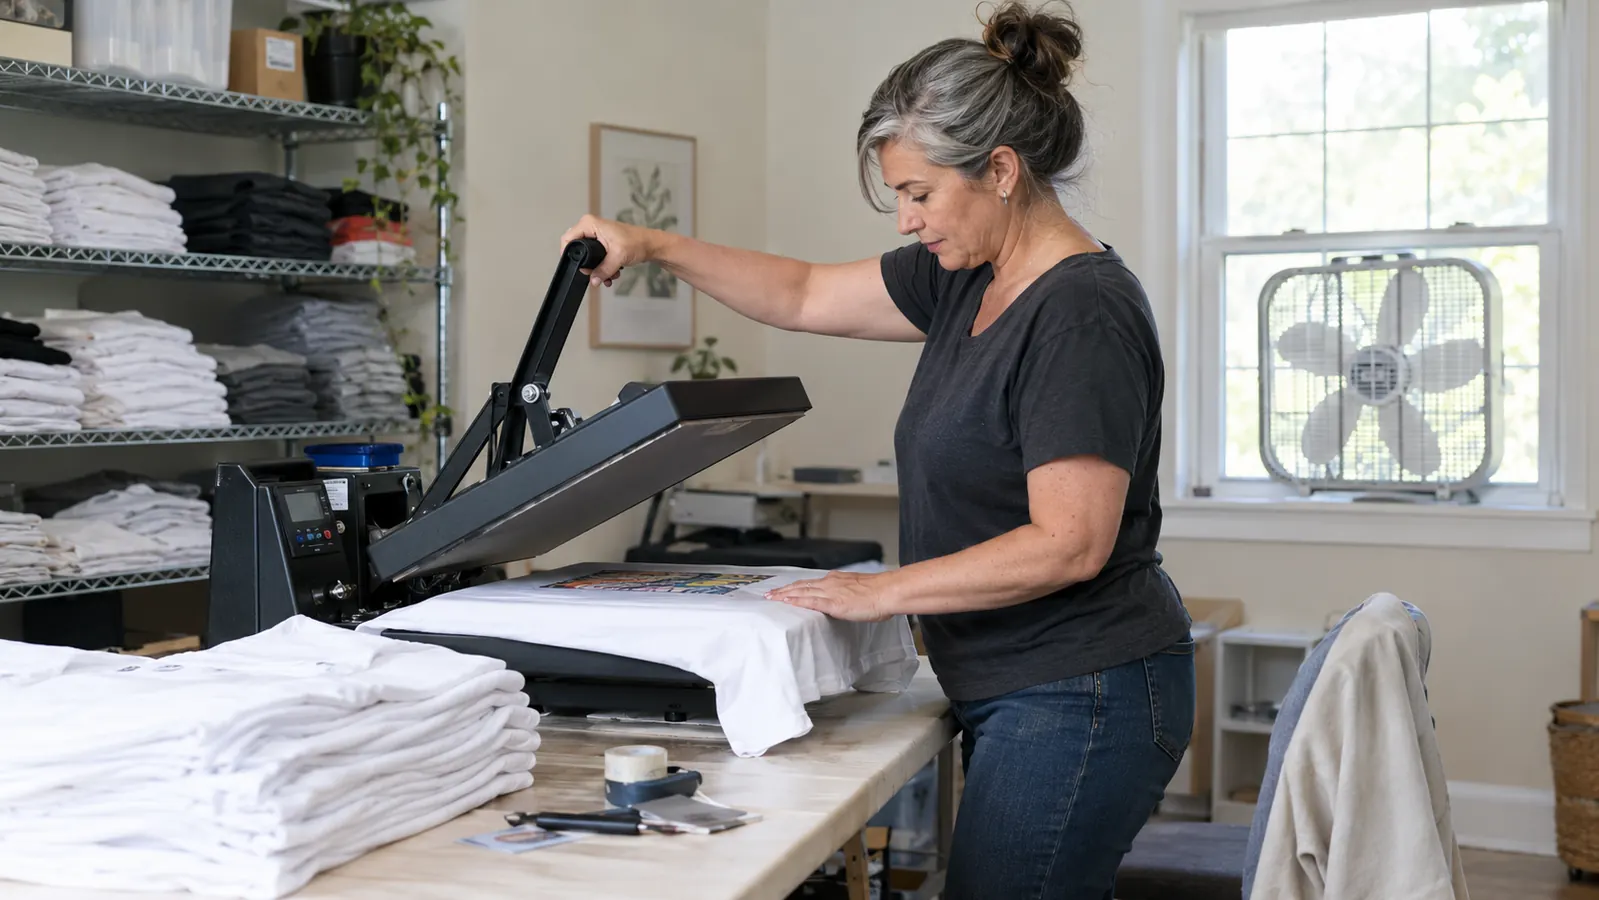
My first mistake was setting the press up on a flimsy folding table. The press is heavier than it looks, and when you pull the handle down, the whole table bounced. That bounce is what made my first transfer slide a quarter inch mid-press, and it is the reason that first shirt has that ghosted outline. Now my Fancierstudio sits on a six-foot folding table with a half-inch piece of plywood underneath, and it does not move at all. I checked the level with a small bubble level I keep in the drawer, and I shimmed one leg with a folded cardboard square so the platen sits perfectly flat.
Give yourself room on both sides. You need a spot to lay the shirt flat, a spot for the transfer sheet, and a spot for the shirt that is already pressed so you do not knock it onto the floor. I use the left side of the table for pressing and the right side for finished shirts, and I keep a clean cotton cloth under the press so the platen does not pick up anything from the table. I also keep my heat-resistant mat on the right side, because I learned the hard way that a hot platen will leave a mark on an unprotected table if you set it down to cool.
Plug the press into a regular wall outlet and turn it on. Set the temperature to 350 degrees Fahrenheit for most cotton shirts, and let it heat up for a full ten minutes before you press anything. The digital readout will tell you it is ready sooner than it actually is. I learned that the hard way with a shirt that came out half-pressed because the platen was still warming up. Now I turn the press on, set the temperature, and go fold the rest of the laundry. By the time I come back, it is actually ready.
Step 2: Prep Your Shirt and Your Transfer
Use a 100 percent cotton shirt for your first few presses. Cotton takes heat transfer vinyl and printable transfers better than blends, and it forgives small mistakes. My first ruined shirt was a 50/50 poly-cotton blend I grabbed from a drawer, and the design never really bonded to it. The fibers in the blend just do not take the heat the same way. I keep a stack of plain cotton shirts on my wire shelf for practice, and I still use them for most of my orders.
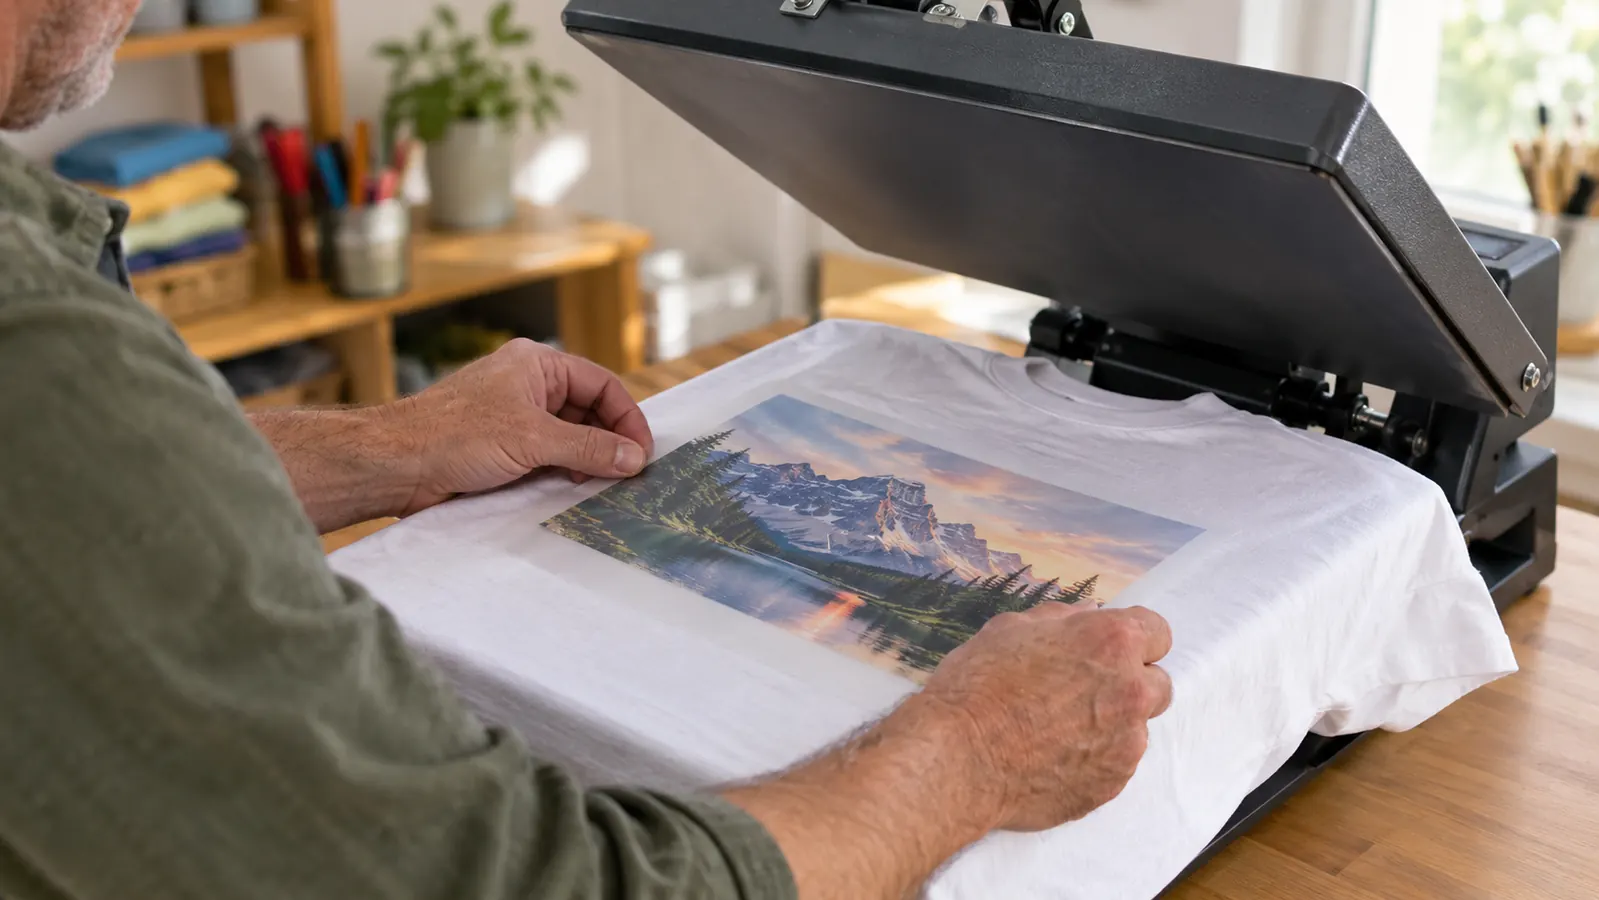
Lay the shirt flat on the lower platen with the front side up. Run your hand over the area where the design will go to smooth out wrinkles. If the shirt has a seam or a collar tag that sits under the platen, shift the shirt so the design area is centered and the seam is not under the heat. A seam under the platen will leave a ridge line across your design. I also use a lint roller over the shirt before I position anything, because the little bits of fuzz from a new shirt will show up as white dots under a dark design.
Place your transfer on the shirt exactly where you want it, design side down for most printable transfers, or design side up for heat transfer vinyl. I put a small piece of heat-resistant tape on the top edge of the transfer so it cannot shift when I close the press. That one habit saved me more shirts than anything else I do. I also use a ruler to check that the design is centered on the shirt, because eyeballing it works until the day you are off by an inch and the whole shirt looks lopsided.
Step 3: Press with Even Pressure and the Right Time
Pull the handle down until the platen locks. The Fancierstudio has a locking handle, which means you can press with both hands free and the pressure stays even. Do not lean on the handle. The weight of the press plus a firm pull is enough. Leaning on it can over-press the shirt and leave a shiny mark. I learned that on a shirt I made for Caleb one afternoon, and the shiny patch across the chest was impossible to fix. The shirt went in the practice pile, and the pile is where it stayed.
Set the timer for the time your transfer instructions say. Most printable transfers for cotton want 10 to 15 seconds at 350 degrees. Heat transfer vinyl usually wants 10 to 12 seconds. I set the timer on my phone because the beeper on the press is easy to miss when the box fan is running. For my usual printable transfers, I press for 12 seconds, and I set my phone timer to 12 seconds before I close the platen, not after. Closing the press first and then fumbling for the timer costs you those first two or three seconds.
When the timer goes off, lift the handle and let the shirt cool for a few seconds before you peel. If you peel too hot, the design can lift with the carrier sheet. I peel warm, not hot, and I peel slowly from one corner. If any part of the design tries to lift, put the carrier sheet back down and press that spot again for five seconds. I have saved a lot of shirts that way, especially around the letters in a long team name.
Step 4: Peel, Cover, and Press Again
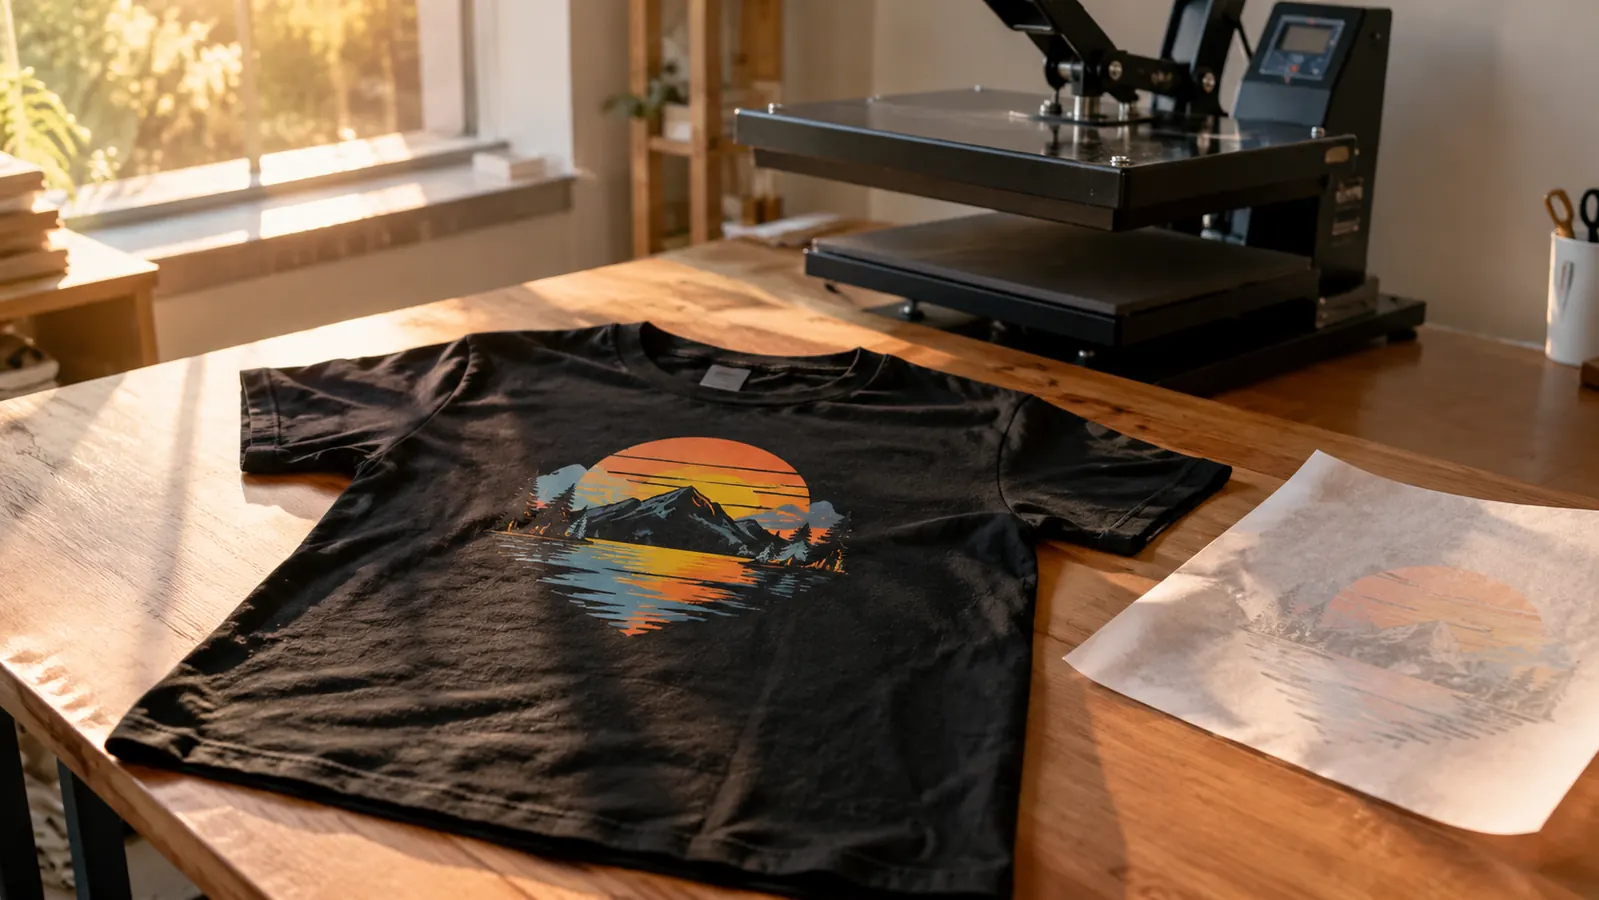
After you peel the carrier sheet, the design is on the shirt but it is not finished. This is the step most beginners skip, and it is the step that keeps your design from cracking and peeling in the wash. Cover the design with a piece of parchment paper or a Teflon sheet, then press it again for 5 to 10 seconds. This sets the adhesive and seals the edges. When I made the first shirts for Caleb's team, I skipped this second press, and by the third wash the numbers were starting to peel at the corners.
I keep a roll of parchment paper in my craft room for exactly this. It costs almost nothing, and it has saved me from ruining shirts that I pressed too long the first time. The parchment takes the extra heat, not the shirt. I cut pieces about two inches bigger than the design, and I keep a stack of them in a zipper bag under the table. When a piece gets wrinkled or stained, I throw it out and cut a new one.
Let the shirt cool completely on the table before you move it. If you fold it or stack it while it is still warm, the design can stick to itself or leave a crease. I lay finished shirts flat on the right side of my table and let them sit while I press the next one. On the day I pressed forty shirts for the fall craft fair, I had shirts laid out on every flat surface in the room, and every single one of them was cool before I stacked them.
Step 5: Wash It Right the First Time
Turn the shirt inside out before you wash it, and wash it in cold water. Do not use fabric softener on a shirt with a pressed design. Fabric softener leaves a film that can make the design peel over time. I tell everyone I make shirts for the same thing: inside out, cold water, hang dry or low heat. I also tell them to wait at least 24 hours after the shirt is pressed before they wash it, because the adhesive needs time to fully cure.
The first wash is the test. If the design comes out of the wash looking the same as it did when you pressed it, you did everything right. If it cracks or peels, it usually means the press time was too short, the temperature was too low, or the shirt was a blend that did not take the transfer well. I made Ron a shirt for a family reunion two years ago, and it has been washed dozens of times, inside out and cold, and the design still looks like the day I pressed it.
I have pressed hundreds of shirts on my Fancierstudio since that first ruined one, and the ones that last are the ones where I followed these five steps. It is not complicated. It is just a routine, and once you do it a few times, it becomes automatic. The day it becomes automatic is the day you stop worrying about ruining blanks and start enjoying the part where somebody opens a box and grins at a shirt with their name on the back.
What Else Helps
A few things make pressing easier that have nothing to do with the press itself. A heat-resistant mat protects your table and gives you a clean surface to lay shirts on. A lint roller removes the fuzz from a new shirt before you press, because fuzz shows up as little white dots under a dark design. And a spray bottle of water helps you smooth out wrinkles on shirts that have been sitting in a drawer. I spray lightly and press the shirt with my hands before I lay it on the platen, so I am not pressing a damp shirt.
I also keep a notebook where I write down the time, temperature, and pressure for every transfer I use. Different transfer brands want different settings, and I cannot keep them straight in my head. The notebook means I never have to guess twice. I have a page for printable transfers, a page for heat transfer vinyl, and a page for the rhinestone sheets I use on tumblers. Each page starts with the brand name and the settings that worked the first time, and I add a note whenever a setting does not work.
Before I press a big order, I always do one test shirt with the same transfer and the same settings. It takes two minutes and it uses one blank, but it has saved me from ruining a whole stack of shirts on the day of a deadline. I learned that lesson the week before the church picnic, when I pressed twenty shirts with the temperature ten degrees too low and had to redo half of them.
The first shirt I pressed came out with a ghosted outline and a peeled edge. The first shirt I pressed after I learned to lock the handle and use a timer came out perfect. Same press, same transfer, same me. The difference was the routine.
Your first shirt can come out right the first time
You do not need to ruin a shirt to learn how to press one. The Fancierstudio 15x15 digital heat press gives you even heat, a locking handle, and a digital readout that tells you the truth. That is the press I still use in my spare bedroom today.
Amazon Check Today's Price on Amazon →