The first time I tried to print a sublimation transfer, I used the wrong paper, the wrong printer settings, and the wrong side of the sheet. I pressed it anyway, and the shirt came out looking like a faded photocopy of a photocopy. My grandson Caleb was polite about it, which is the nicest thing a ten-year-old can do for you. Three years later, I print A-SUB sublimation paper almost every week in the spare bedroom I turned into a craft room, and the process is so routine I can do it while the coffee is still hot. If you are standing where I was, staring at a printer and a pack of paper and wondering where to start, this is the walkthrough I wish someone had handed me.
The short version is this: sublimation printing is not like regular printing. The ink has to go onto a special paper, then transfer from that paper into the blank with heat and pressure. The paper is not the glamorous part, but it is the part that decides whether your design comes out bright or washed out. A-SUB is the brand I have used since my second pack, and it is the one I keep buying. Here is exactly how I print transfers with it, including the settings, the mistakes, and the things I would tell a friend starting out.
Start with the paper that does not fight you
A-SUB sublimation paper 8.5x11, 125g, is the pack I reach for every time. It loads flat, takes the ink evenly, and releases cleanly onto the blank. Check today's price on Amazon and see if it fits your setup.
Amazon Check Today's Price on Amazon →Step 1: Set up your printer for sublimation
Before you open the pack of A-SUB paper, you need a printer that can handle sublimation ink. I use an Epson EcoTank, which is what most home crafters I know use, but any printer with a piezo printhead can work. The important thing is that the printer is dedicated to sublimation ink. Once you put sublimation ink in a printer, that printer is for sublimation only. Regular ink and sublimation ink do not mix, and trying to switch back and forth is a recipe for clogged heads and streaky prints.
If you are setting up a new printer, fill the tanks with sublimation ink, then run a nozzle check and a couple of cleaning cycles before you print anything important. I know it feels like wasting ink, but a printer that has been sitting for a week will often need a cleaning cycle to get the ink flowing evenly. I keep a scrap piece of A-SUB paper by the printer and use it for test prints, so I am not burning my good sheets on a nozzle check.
One more thing: keep the printer in a room that does not get too hot or too cold. My craft room has a box fan in the window in the summer, and I move the printer away from the direct draft. Temperature swings can make the paper curl at the edges, and curled paper is the fastest way to get a jam or a smudged print.
Step 2: Load the A-SUB paper the right way
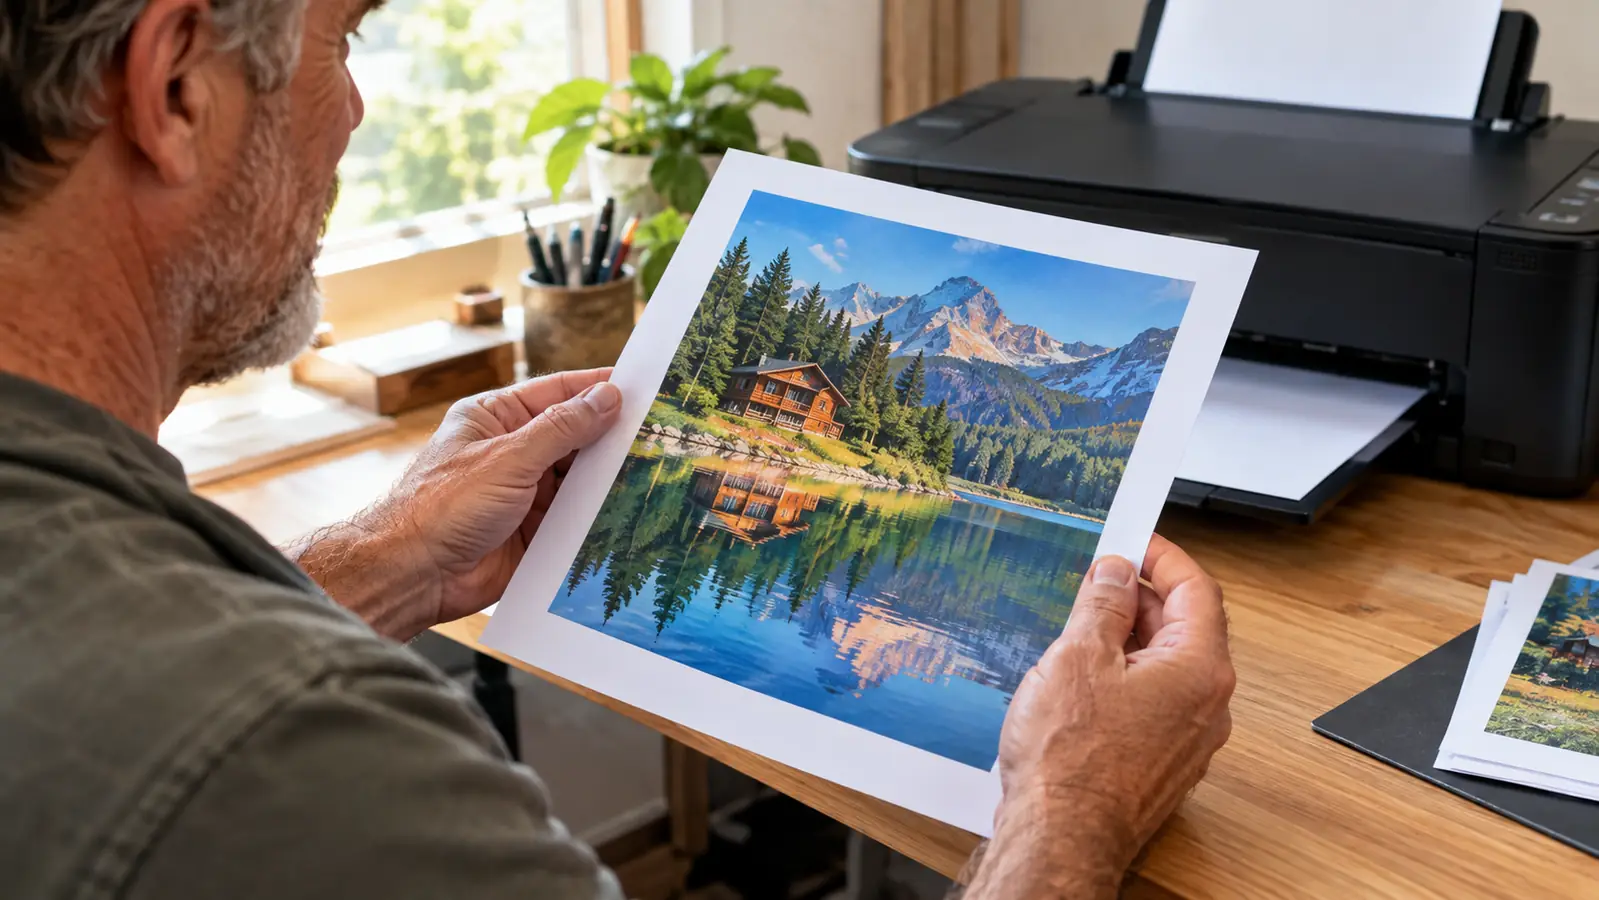
A-SUB sublimation paper has a coated side and a plain side. The coated side is the one that holds the ink, and it is the side that faces the printhead. If you print on the wrong side, the ink sits on top of the paper instead of soaking in, and the transfer will look muddy or ghosted. I have done this more times than I want to admit, so here is the trick I use: I hold the sheet up to the light. The coated side has a slight sheen, and the plain side looks like regular copy paper. When in doubt, I take a pen and make a tiny mark on the edge of the plain side, then load the paper with that mark facing me. The mark never shows up on the transfer because it is on the back.
Load the paper into the rear paper feed if your printer has one. The rear feed keeps the paper path straighter, which matters for a 125g sheet. A-SUB 125g is heavier than regular paper, and it can bend or catch if you force it through a front tray that is not designed for it. I keep my A-SUB paper in the original packaging, flat, and I only take out a few sheets at a time. Paper that has been sitting in a humid room will absorb moisture, and moisture is the enemy of a clean transfer.
Before you load a whole stack, load one sheet and run a plain test print with a simple shape. That tells you the paper is feeding correctly and the ink is laying down evenly. It takes two minutes and it saves you from discovering a problem halfway through a batch of ten shirts.
Step 3: Choose the right print settings
This is the step where most people get frustrated, because the settings that work for regular paper are not the settings that work for sublimation. In your print dialog, look for the paper type setting and choose something like Premium Presentation Paper Matte, or the closest matte option your printer offers. The key is to tell the printer to lay down more ink than it would for a normal document. If the setting is too dry, your colors will look pale after pressing. If it is too wet, the ink can bleed on the paper and the edges of your design will look fuzzy.
I also turn off any color management in the printer driver and let my design software handle the colors. This is one of those things that sounds technical but is actually simple: the printer wants to adjust the colors, and the software wants to adjust the colors, and if both of them do it, you get colors that are too dark or too orange. I let the software do the job and set the printer to no color adjustment. Then I print a small test image with a few bright colors, press it onto a scrap piece of fabric, and see what comes out. Every printer is a little different, so the test is the only way to know for sure.
One setting I always check is the print quality. I use the highest quality setting, which prints slower but lays down the ink more evenly. For a single mug or a small shirt, the extra minute is worth it. For a big batch, I will sometimes drop to a medium quality setting for designs that do not have fine text, but I always test first. Fine text and small details need the high quality setting, no exceptions.
Step 4: Print, dry, and handle the transfer carefully
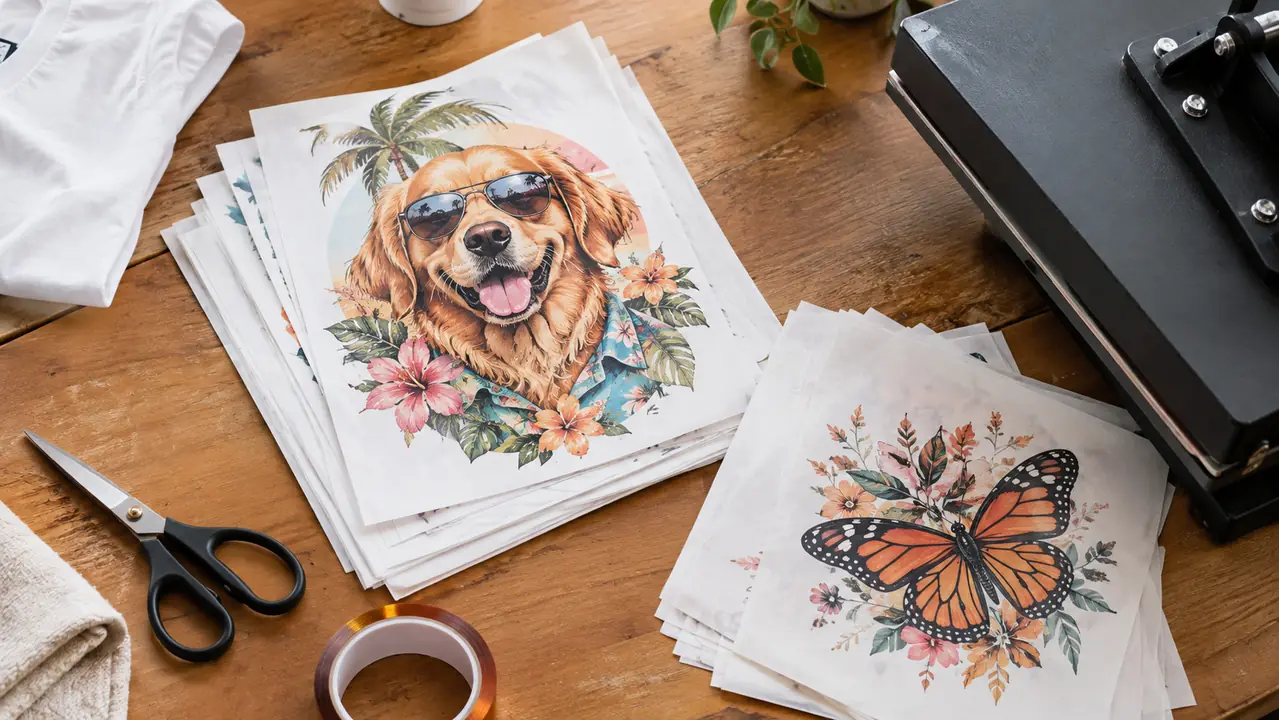
When the print comes out of the printer, the ink is still wet on the surface of the A-SUB paper. This is normal. Sublimation ink needs a moment to dry, and if you stack the sheets too soon, the wet ink can transfer from one sheet to the back of the next one. I lay my printed sheets flat on the table, ink side up, and give them a couple of minutes. If I am printing a big batch, I use a small drying rack made from a wire cooling rack, the kind you use for cookies. The sheets rest on the wires, so the ink side never touches anything.
When the ink is dry, I cut the design out with scissors, leaving a small border of paper around the edges. The border keeps the edges of the design from pressing onto the blank and leaving a faint mark. I also trim any large areas of paper that are not part of the design, because extra paper can trap heat and cause a ghosting effect on the blank. Ghosting is that faint, blurry second image that appears when a piece of paper shifts during the press. Trimming the paper down is the simplest way to avoid it.
I handle the printed sheets by the edges. The oils from your fingers can leave marks on the coated side, and those marks can show up as light spots on the transfer. I keep a pair of clean cotton gloves near the printer for the times I am handling a lot of sheets at once. It sounds fussy, but it is the difference between a clean transfer and one with mysterious pale fingerprints on it.
Step 5: Press the transfer onto your blank
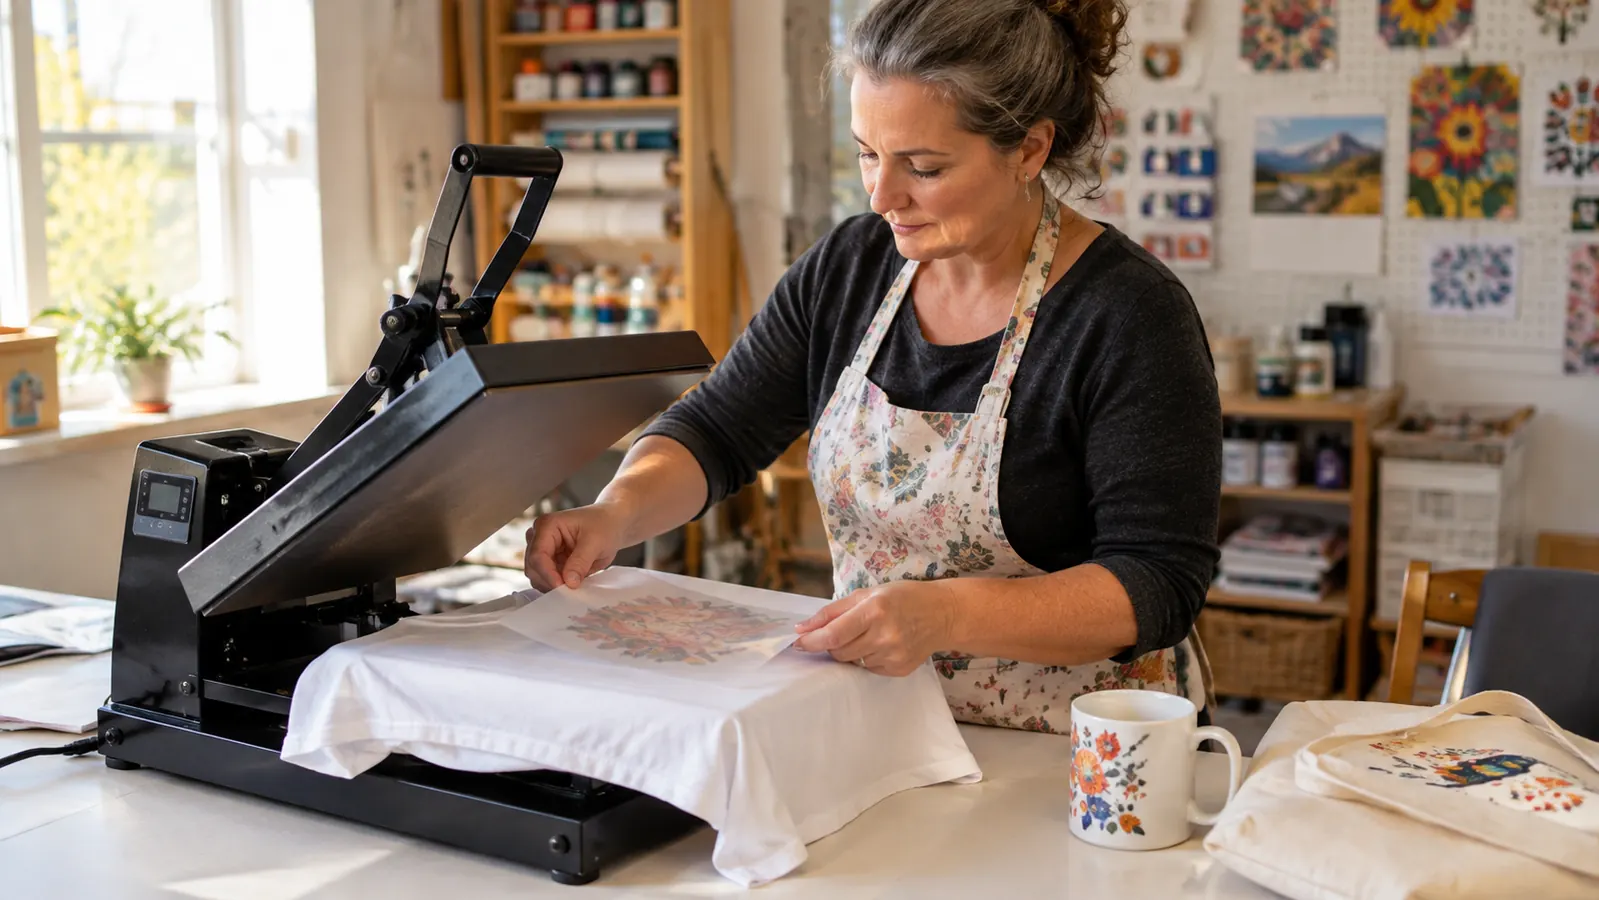
Now the transfer is ready to become a shirt, a mug, a tote bag, or whatever blank you are working with. The blank has to be at least 50 percent polyester for sublimation to work. Cotton shirts will not hold sublimation ink, and that is the mistake I see people make more than any other. I keep a stack of poly blend shirts in my craft room for this exact reason. A 100 percent polyester shirt gives the brightest result, and a 50/50 cotton poly blend gives a softer, more vintage look. Both work, but you have to know which one you are pressing.
I set my heat press to 400 degrees for shirts and tote bags, and I press for about 60 seconds at medium to firm pressure. For mugs, I use a mug press at 380 degrees for about 90 seconds. These are the settings that work for me, but your press may run a little hot or a little cool, so I always test on a scrap blank first. I tape the transfer in place with heat tape so it cannot shift, then I press. When the timer goes off, I peel the paper off while it is still warm, and the design is there, bright and permanent.
The first time you do this, the moment of peeling the paper back feels like a small triumph, and I mean that in the most practical way. You will see the colors that looked dull on the paper turn vivid on the blank. That is the sublimation process doing its job. If the colors look pale, the press was not hot enough or the time was too short. If the colors look muddy, the press was too hot or the time was too long. Write down what worked, keep a notebook, and you will have your own settings dialed in within a few presses.
What Else Helps
A few things make the whole process easier, and none of them are expensive. A heat tape dispenser saves you from fighting with little strips of tape while you are trying to position a transfer. A pair of fabric scissors that you only use for paper keeps your good scissors sharp. A lint roller removes the fuzz from a new shirt before you press, because fuzz shows up as little white spots on the design. And a notebook, honestly, is the most important tool in my craft room. I write down the settings for every blank I press, and when something goes wrong, I write down what I changed to fix it. That notebook has saved me more times than any piece of equipment.
I also keep a dedicated test blank, an old poly shirt that I do not care about, and I use it every time I try a new blank or a new brand of paper. It takes two minutes and it has saved me from ruining a dozen good shirts. If you are just starting out, make the test blank your best friend.
The paper is not the glamorous part, but it is the part that decides whether your design comes out bright or washed out.
Print your first transfer this weekend
A-SUB sublimation paper 8.5x11, 125g, is the pack I reach for every time. Grab a pack, set up your printer, and press your first test design. Check today's price on Amazon.
Amazon Check Today's Price on Amazon →